I really wanted to avoid plastic filler, but after discussions with several professional body men and significant reading I became convinced that with proper application, modern plastic fillers are hard to beat. Use very thin layers of plastic to level out high and low areas, and generally keep the thickness of the plastic less than 1/8 inch. Deep dents are either filled with lead or dinged out with a hammer and dolly. I like to think of it as high build primer that is applied without a spray gun. I only apply Rage to bare metal. I have been using "Evercoat RAGE" and find that its adhesion to bare clean steel is better than Epoxy etching primer.
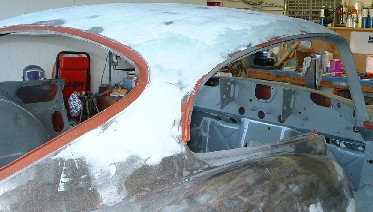
After replacing the front section of the roof there were a number of high and low spots associated with my less than perfect welding skills. These small warps were due to over heating. I realized quickly the warping so only a few places were high and low. I hammered and shrunk out most of the problems, I skimmed the roof with plastic. to get it right. Learning to work with plastic filler took some time. I learned that it is best to put down two our three thin coats of filler and then to sand when there are major high and lows. Sanding between each coat shows off the high spots, but the tendency is to sand through each and re-discover the high spots. The best approach is to sand until you just start to see a little metal beginning to show. then stop and apply more filler in a wide area around the high until you get to a point where no metal comes through. I use an electric sander with 80 and 120 grit paper to knock off the edge off the plastic, and then use a 20 inch long sanding block for 36 grit for the basic block out. A guide coat can help too but tends to soak into the plastic so its best to go very light on the spray onto plastic.
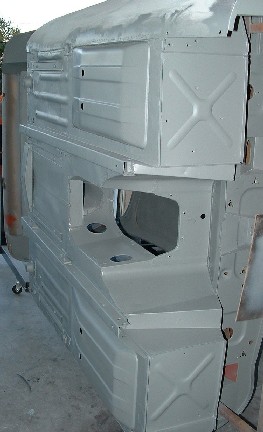
The sills had a few small dents which I filled and sanded out. I also used plastic to dress the lead in the doors. Plastic is messy to work with, I spend about as much time cleaning up from it as I do sanding and filling.
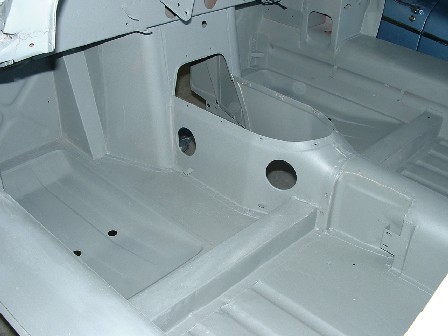
After everything is sanded out and smooth I shot a coat of PPG DP 40 Epoxy primer. DP40 is fine to spray on top of plastic filler, I will shoot a thin coat of High build primer on the inside and wet sand out before shooting color.
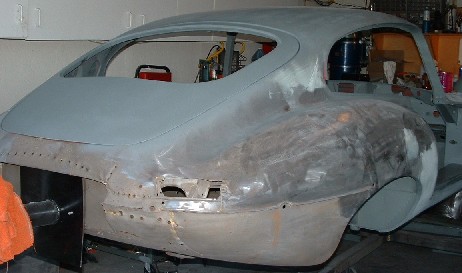
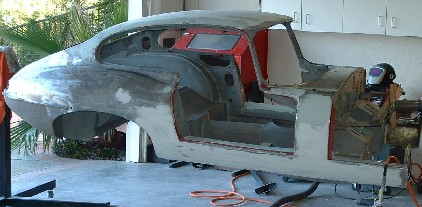
The Rear end is still a mess, need to cut all of the unpolished steel out and replace. The rest of the body is ready to buff out and prime. I'll start on the bonnet next.
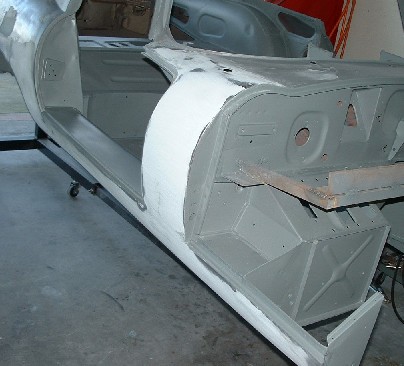
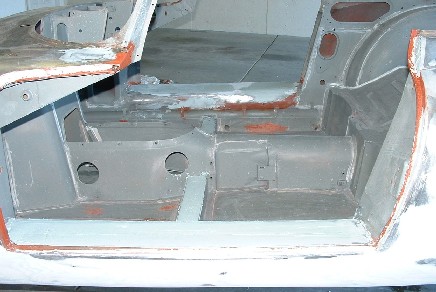
The sills and cowl were less than perfect even after lead. I leaded the upper and lower seam and then skimmed both cowls with filler to get the high and low spots and to blend the door contour to the cowl. If I was doing this over I would have waited until the bonnet was on the car before getting into plastic filler here. It would have been better to continue working with the lead after the bonnet was fitted to the body. Lesson learned.