Engine strip down, the wine and cheese of car restoration, until you find out what is wrong and then its another story. It took me about a week to get everything stripped, cleaned, sorted out and stored ready to choose an engine shop.
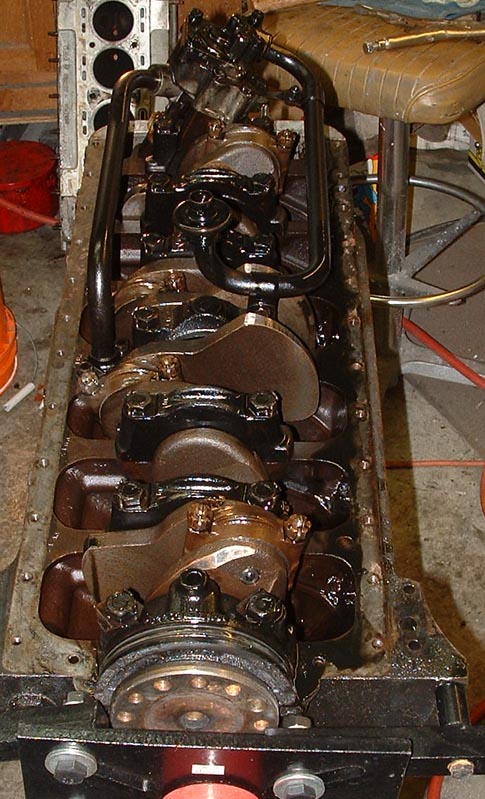
Stripping down any engine is messy work, make sure you are not wearing your best clothes and have at least twenty disposable rags ready along with a gallon of something to cut grease, a parts cleaning tank is a must too. Most of the tear down went pretty quickly, but there are just allot of parts to remove and inspect so it takes time. Here the cams are off and I'm ready to start unbolting the head.
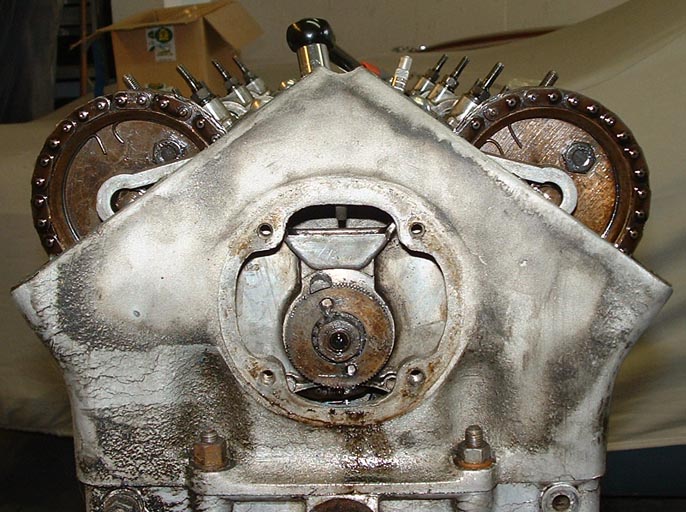
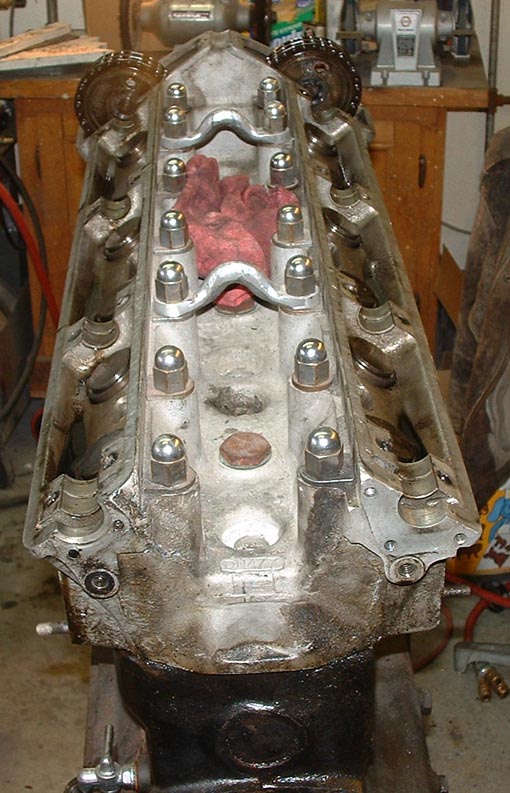
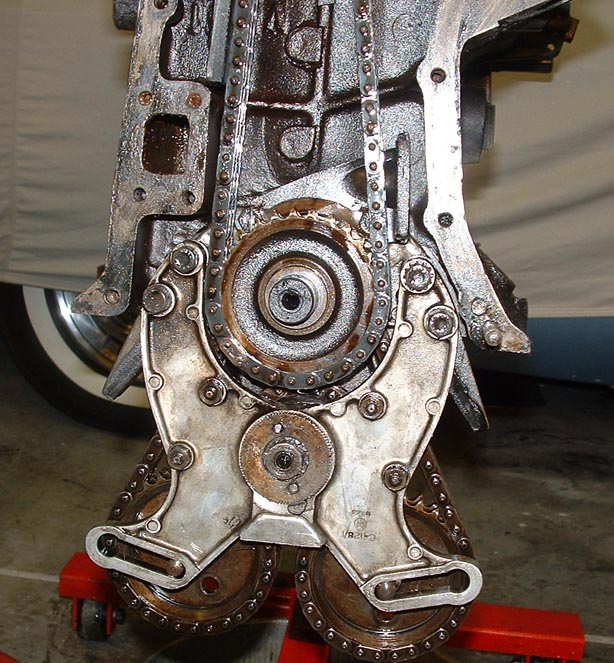
There are many unique things about the XK motor that you need to know up front, The shop manual or one of the many other XK engine books should be fully read before you even start. This picture is of the Cam chain adjuster which needs to be loosened before you can get the head off. Notice I still have the bolts in the cam drive gears at the top.
Pop goes the head. I was lucky this head wasn't stuck on. The head was not original, and had been changed recently by the previous owner. From what the PO said it only had a couple thousand miles on it before I started the restoration! Things looked ok at first glance. No major problems.
After the head came off I got into the bottom end. What a mess. You can see that even after the oil had been drained there was still at least another quart left in the journals.
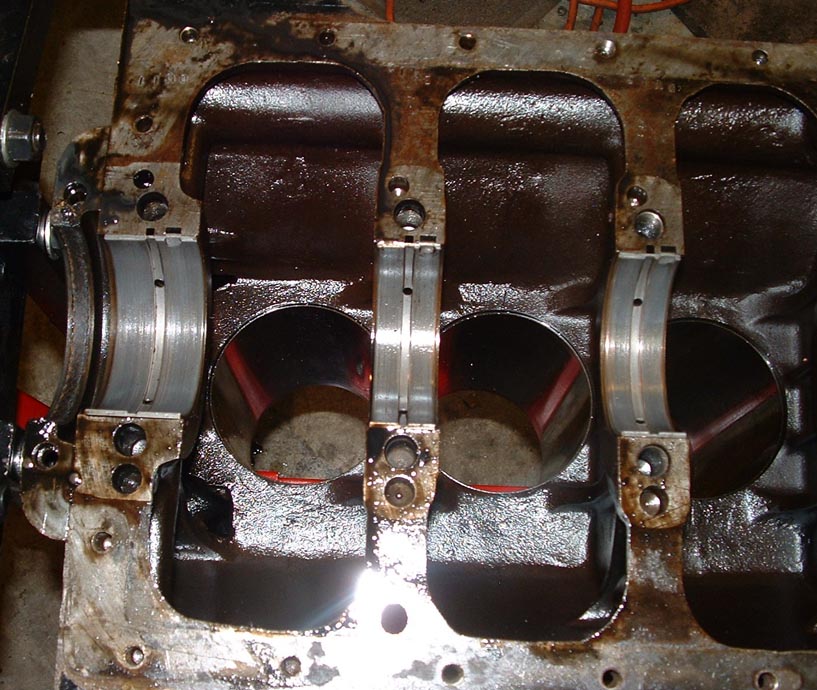
Things looked ok in the crankcase. No metal or bearings which were chewed up. Sludge levels were pretty low. and all the main bearing cap bolts had metal tabs to prevent bolts from slipping.
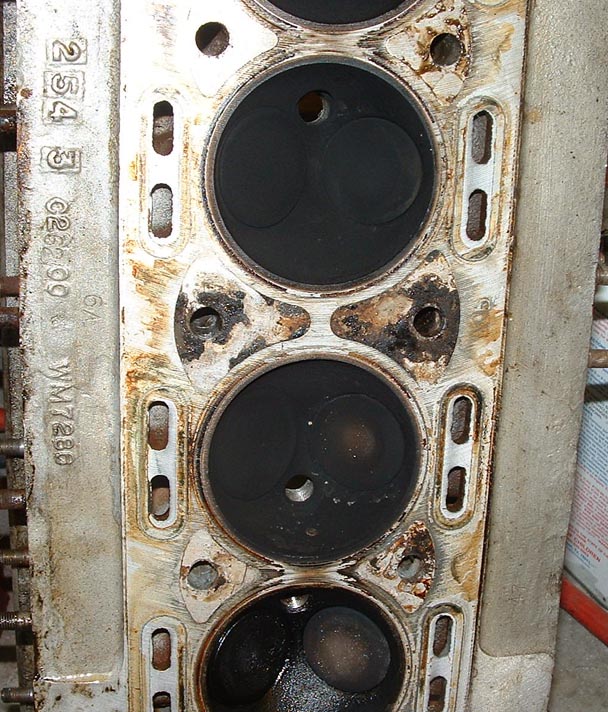
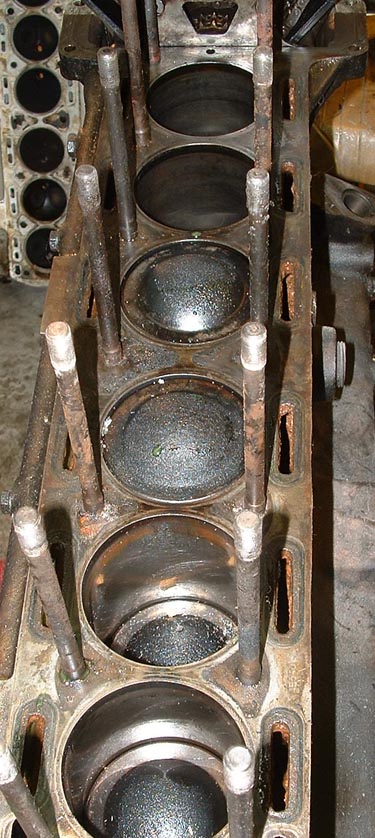
You can see some of the signs of ring problems by looking at the head. The number one bore at the bottom of the screen was reading below standard compression (about 150 psi). Its easy to see the oil which had been blowing by on the dome. When I pulled the pistons I found cracked rings.
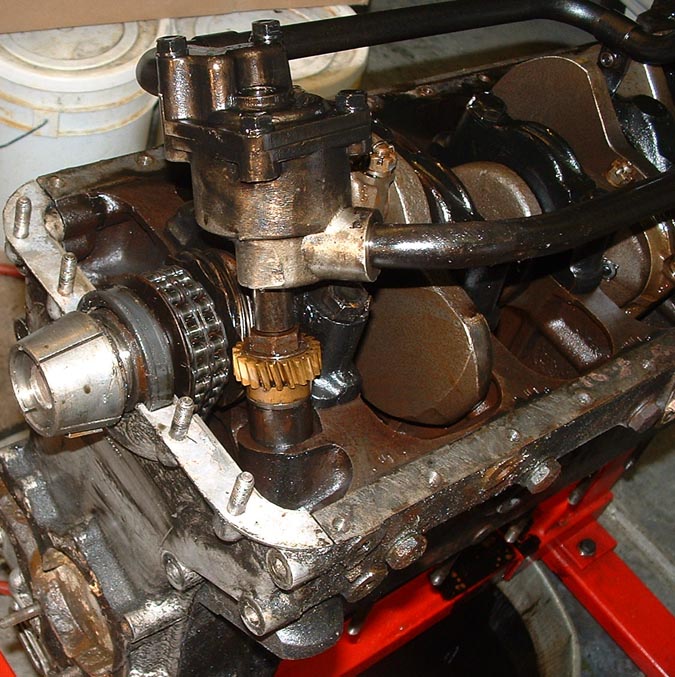
The oil pump was fine but will be replaced with a later 4.2L pump from an XJ6. The higher output pump is a standard upgrade to XK engines.!
After pulling the pistons out, Dick Vandermeyden came over with a bore mic and we found a few things which I hadn't expected. The motor had .040 oversized pistons and likely had after market sleeves. The sleeves were 7 inch's long vs the 7 1/8" which is standard. We found that the crank had been ground .010 under and the piston bores had worn an additional .006 at maximum over the .040 bore leaving the .064 thick sleeves pretty thin. So the sleeves will need to be replaced. The crank had about .003 wear over the .010 grind so it will get another .010 grind to be .020 under.
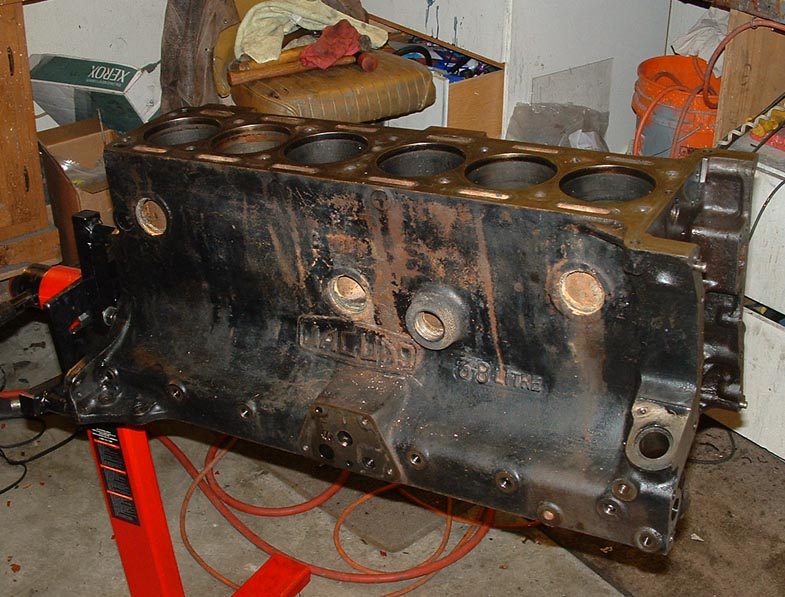
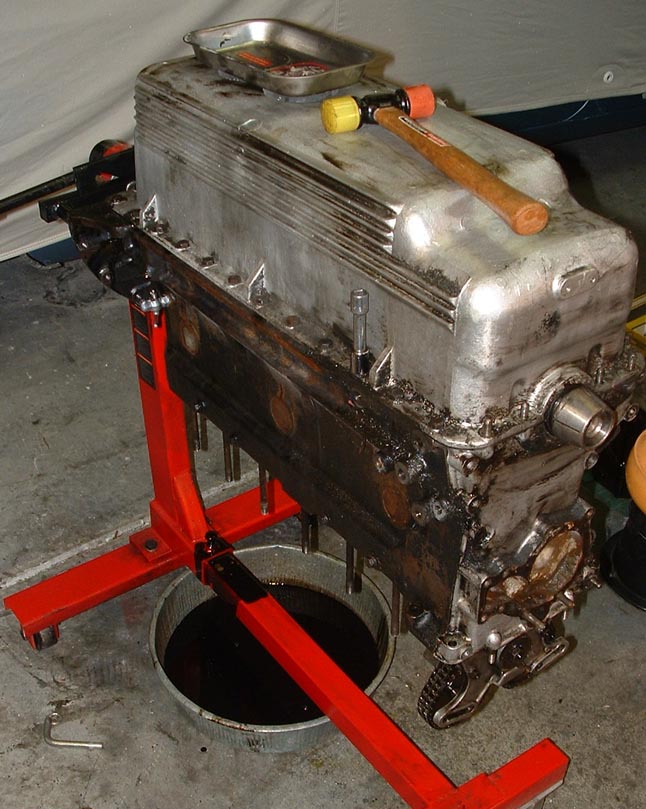
Here is the block all stripped and ready to go out to the engine shop. It just needs a good hot tanking.
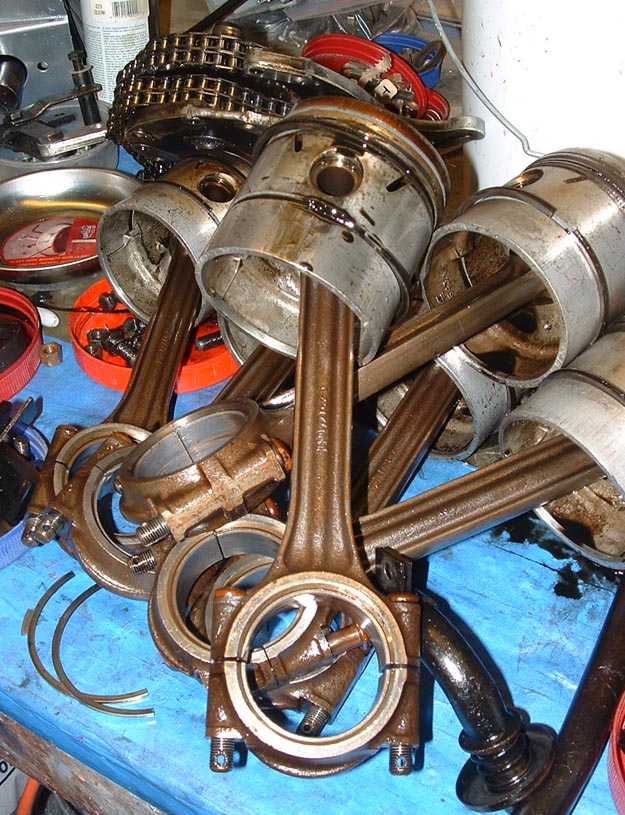
Here are the non factory .040 over pistons. Notice the lower oil ring. this is clearly not a factory Hepolite piston, normal XK pistions don't have this lower ring. Not sure what make the pistons are!
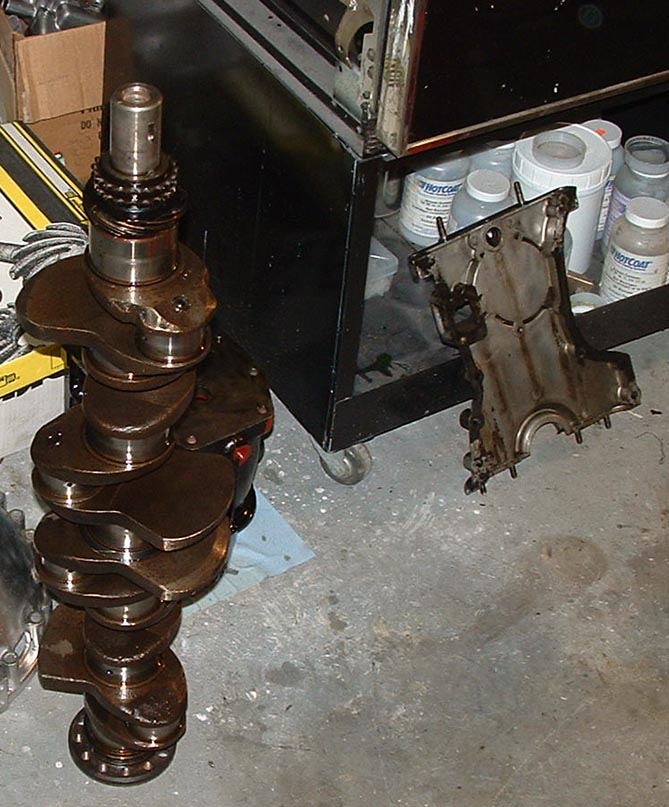
This crank had already had a .010 grind and had more wear on top of it. I decided to swap it out with a crank from a spare motor I found in my local junkyard. The new crank will only have a .010 grind vs the .020 total grind required on this one. The engine shop will cut out the oil plugs from the crank and flush out the crud and then replug and balance. The timing chain cover to the right is trash.
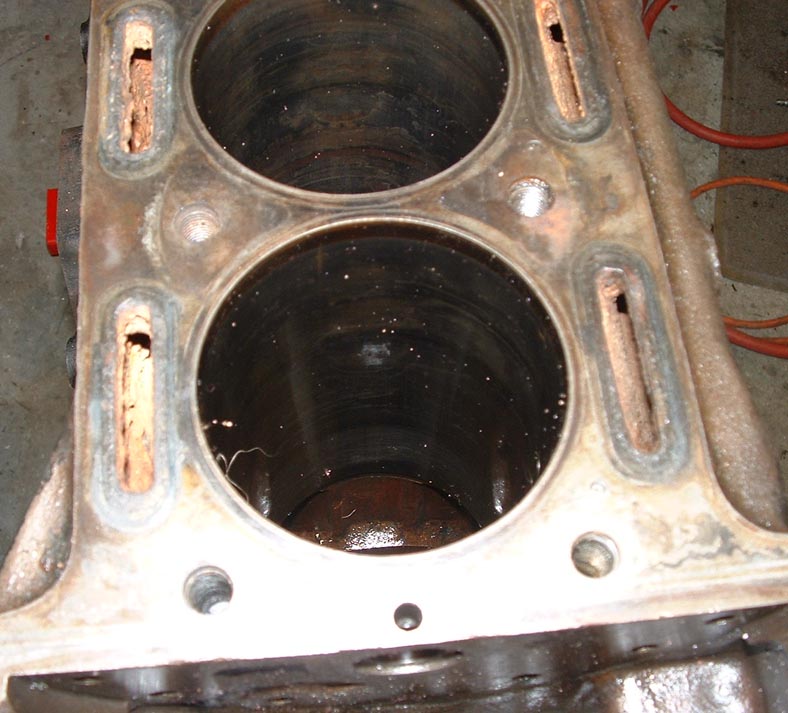
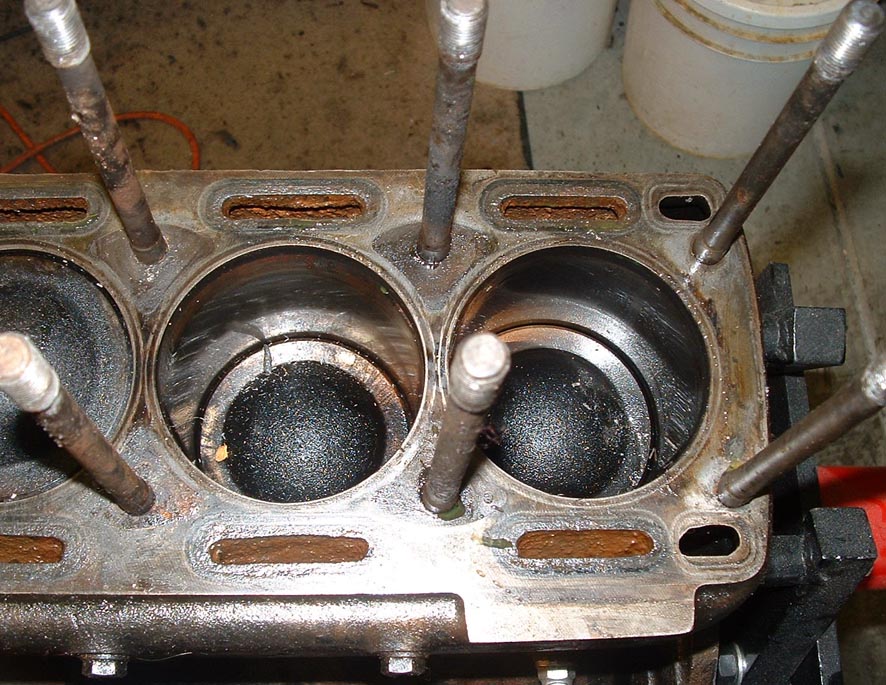
In this picture you can see some rust damage on the sleeves when the car sat up for some time. The rings rust to the sleeve and then when the car is run again bad things happen. These sleeves will be replaced so its not important. This is a good example of one of the reasons you should always run cars vs letting them sit for years without activity. Also note the rust around the water ports. This was later determined to be about .050 deep and required some welding by the machine shop.
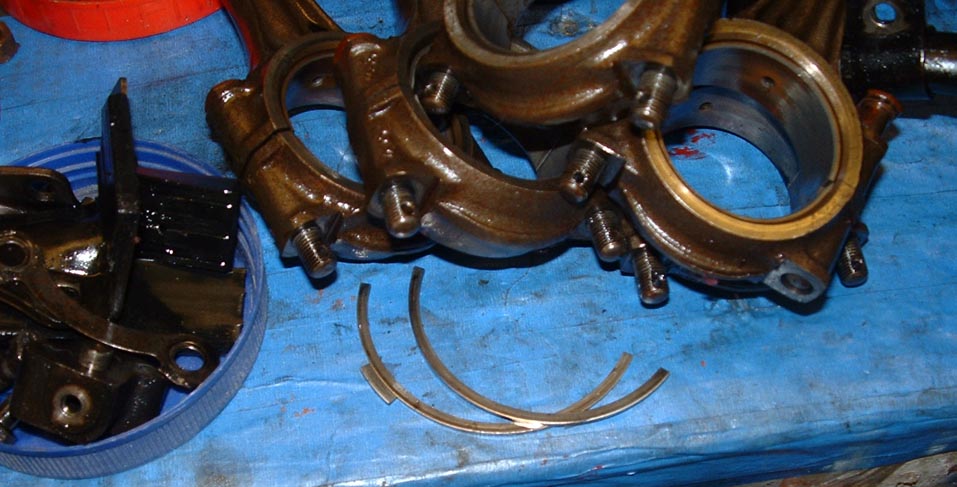
The bearing caps were pretty worn out, and of course will be replaced. Here you can see the sleeves from the inside of the block. They are pretty thin at this point with a .040 bore plus .003 nominal wear on top. It would be possible to go to a .050 bore but that would mean the sleeves would be paper thin. Best to resleeve.
Here is what is left of the number one piston top compression ring, no wonder compression was low.
The freeze plugs weren't to hard to get out, but the inside of the water jacket had forty years of rust and mineral deposits. I flushed about an inch of sludge out of the block with the hose. I expect that this was mostly casting sand that never got out of the engine from the factory.
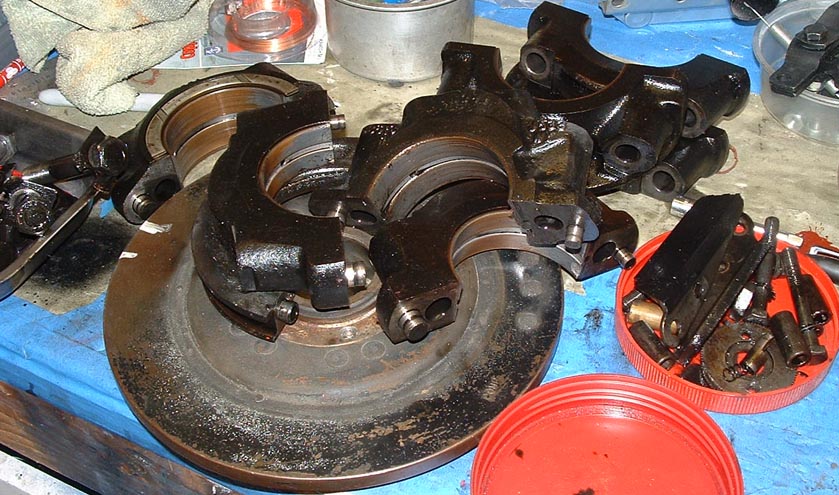
The main bearing caps were in fine condition, but look at the wear on the shells, these were pretty far gone. Now that the engine is stripped and inspected its off to the engine shop. I can now move on to other projects like the Diff and IRS.