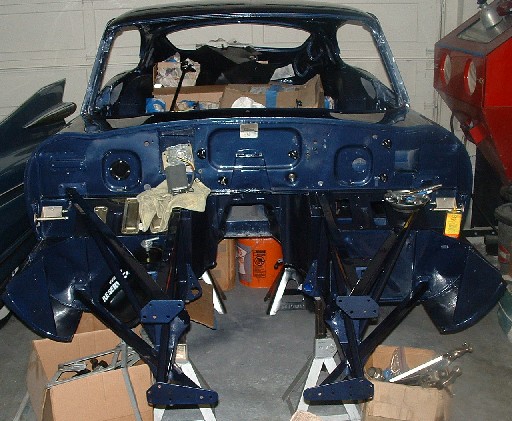
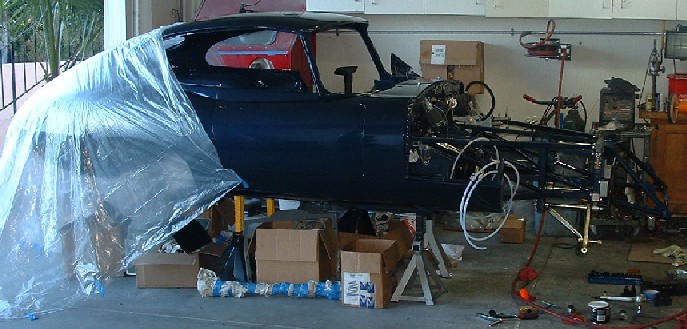
After roughly 3 years of toil, the rebuild is underway. Putting the car back together goes quickly relative to the other work, but is very stop and go. Once you have everything you think you need, you'll find that there are always things you have forgotten. I'm guessing everything on this web page is no more than 20 hours of labor.
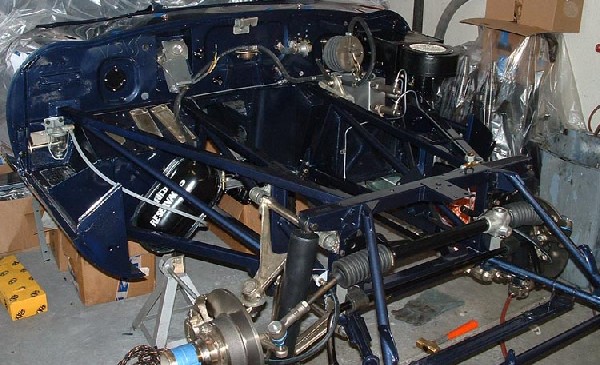
I started by putting in new stainless heater pipes, and riveting on the blanking plate for the brake booster if the car was RHD. I put on any of the small firewall parts that were easy to bolt up, and unlikely to limit access when doing later work, the bonnet latch parts, RHD brake blanking plates, Wiper motor etc. Next came the Sub frame. This went without issue. The only thing to note is the threads on the firewall were full of paint and needed to be chased out.

When I removed the car from the Rolling stand I put it up on Jack stands but made sure to paint each stand with clean rubber tool handle coating. This is available at most hardware stores and is just the thing to help prevent paint damage on the rails. High jack stands makes some nice storage in my space limited garage.
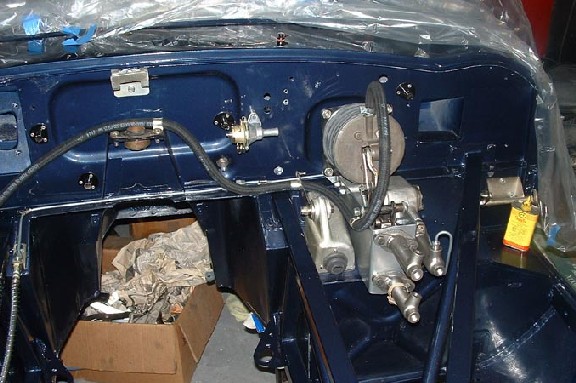
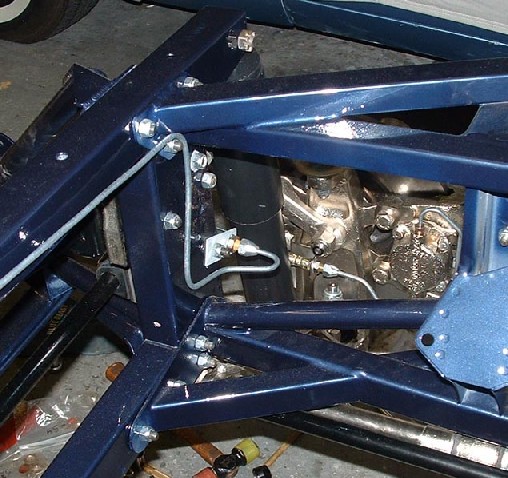
I had already pre assembled the Brake booster and bolted it in next, I also ran the fuel and brake lines under the body and started putting in vacuum lines. Notice I have the Heater valve in here, but its upside down. I had a number redo's while putting things back together, since this is my first time assembling an E-type.
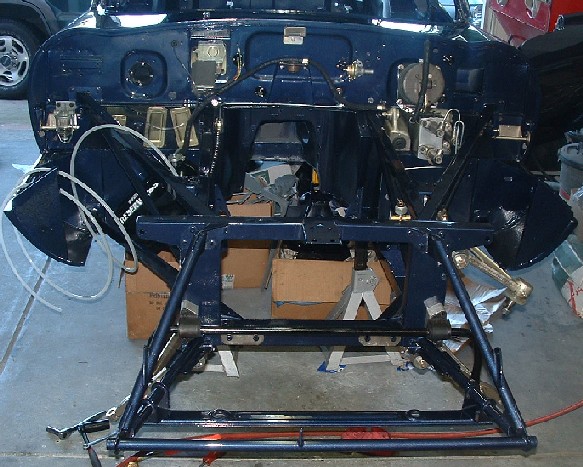
The front suspension was next, and the fuel lines. I had to make a special tool to get the plastic fuel line onto the fittings. Notice all the bolt heads are painted body color as was typically shipped from the factory. I re plated all of the original hardware and used it in any visible areas.
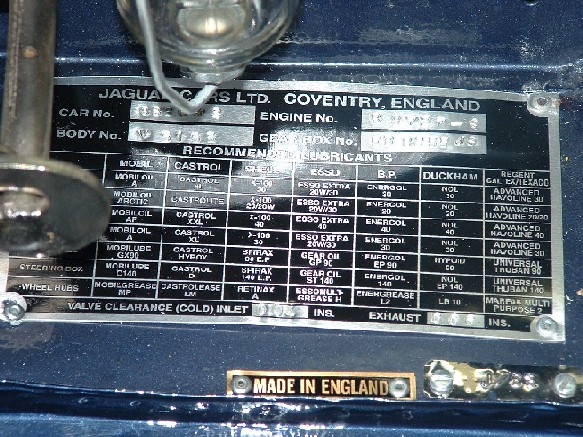
I bought a set of letter and number punches and created a new ID plate, based on a blank jaguar plate from one of the usual suppliers. The repro ID plates aren't exactly correct. They are slightly smaller and the writing isn't exactly the same as the original. Fortunately Mark DeLong A fellow E-type lover who is restoring a 63 OTS, took it upon himself to get a batch of correct name plates made up. They are the right size and have the correct original oils listed. I haven't installed mine yet but will do this soon. This incorrect plate will go in the scrap bin. Thanks Mark!
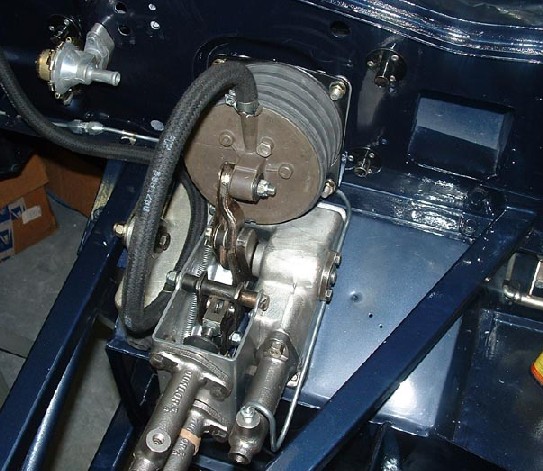

The clutch hydraulic line is ready to hook up, The fuel line is incorrectly installed in this picture, it needs to run behind the vacuum tank not in front.
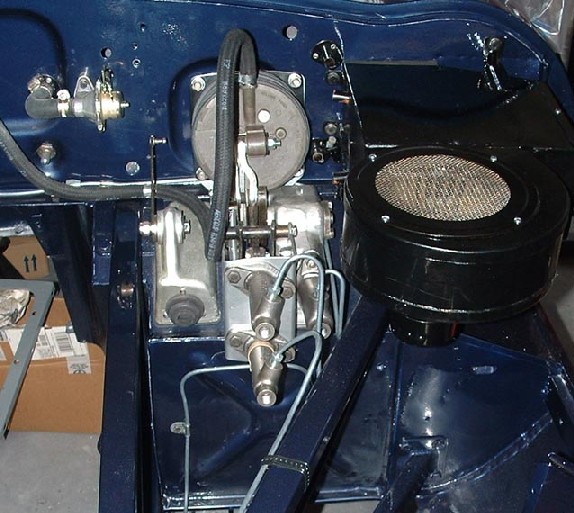
Brake lines in! heater box in! heater pipes in! Correct plastic strapping material in! Heater valve properly installed!
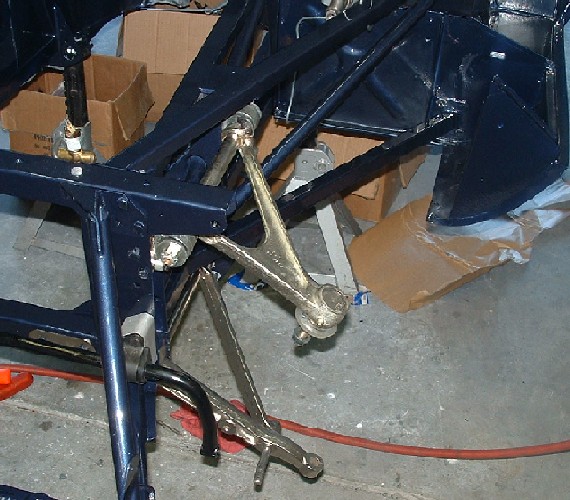
Front suspension in, front brakes in. Rotors in. shocks in. Torque arms set.
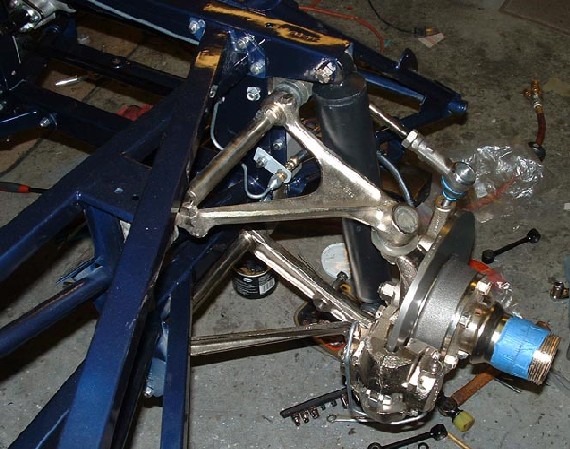
Setting up the torque bars and getting the front shocks installed is a project which is worth discussing. First make the correct setup tool as described in the shop manual. This attaches where the shock normally goes. Then adjust the torque arms so that the bolts will line up in the rear mounting plates. This is a quick job. The real problem is compressing the torque bar to get the upper and lower A-arms to come together and then to get both arms to come up enough to get the shock installed. I used a couple of turn buckles with loops on the end connecting to the shock bolts to get the A-arms to come together. There is a serious amount of energy stored in the torque arms and it was all the 3/8" turn buckles could take to bring the arms together.
Bringing both arms to get the shock installed was the biggest problem. I had to buy a large lifting hook and put it over the top suspension shaft then attach this to the turn buckle. The other end went on the sway bar mounting bolt. The torque was so great I had to weld the 3/8" mild steel loop ends together so it wouldn't stretch. Its hard to describe this without a picture, but the Turnbuckle rig, and associated parts are common hardware store items.
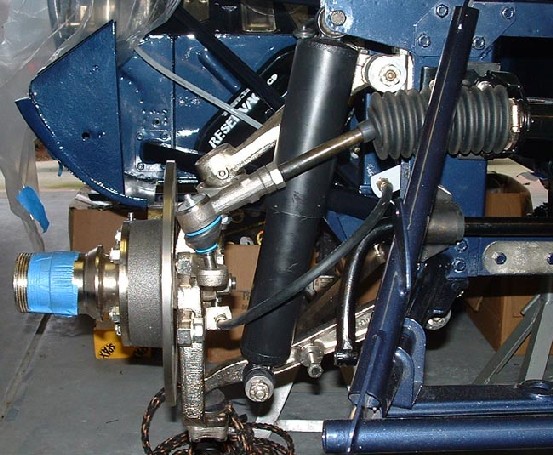
The steering rack and sway bar linkage went in smoothly. I put a level on each rotor and adjusted from the center point in the steering rack with the tie arms so the track of the wheels would be roughly straight. I will fine tune this after the car is back on the road.
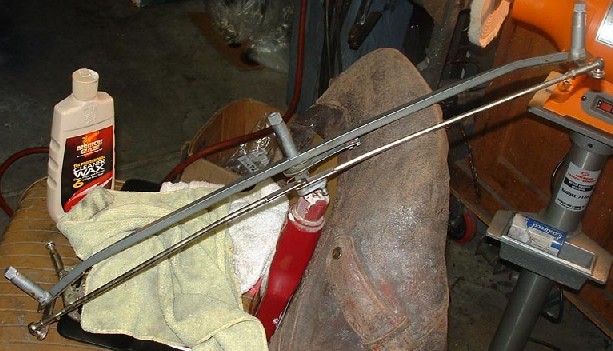
Most of the small parts went together without any notable hardship. The wiper rack was an exception. I thought somehow this would go into the car in one piece. Wrong. I ended up taking it apart and reassembling it in inside the cowl. Not an easy or fun job.
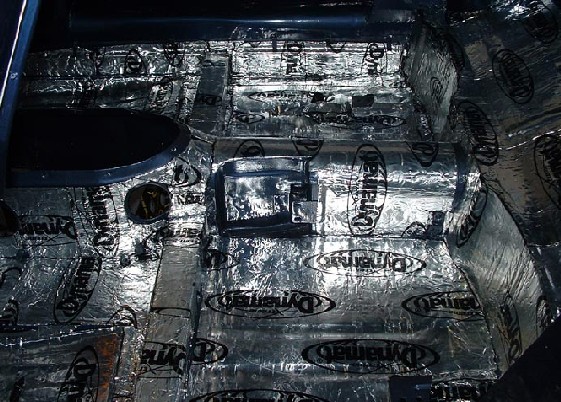
Last but not least, for this page, I installed Dynamat Extreme as is commonly done these days. It is easy to work with, I cut it to fit with a razor knife. Mine didn't come out as pretty as I would have liked, but it will do the job and makes the doors feel like a big American tank when they close! It used just over one large bulk pack. I probably will put an extra coat on the inside of the transmission tunnel, just to keep the heat down on the inside of the car.