The brakes
and clutch are all bled now and the battery is ready to go in. I found a
place online that sells modern replacement batteries that look like original
63 era Lucas lead acid batteries but are modern sealed maintenance free
units inside. This should save allot of grief. I've had normal lead acid
vintage replacement batteries in the past and they always leak acid. Acid
just kills the paint.
Not much
to say here but, hey its getting close now!
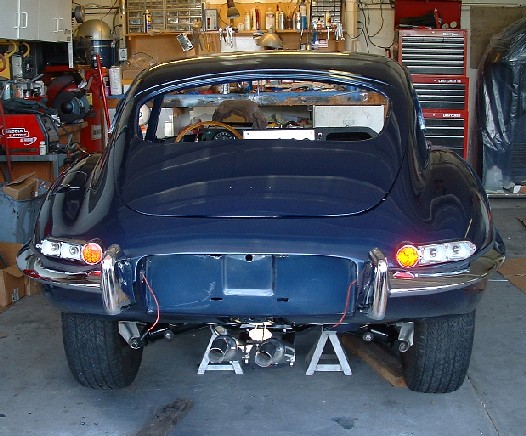
Here the
tail pipes and lights are in. I still need to put the back up light in but
that is fairly simple. I didn't remember to send out the license plate lamp
chrome bits when I had the last plating done so that is going to have to
wait.
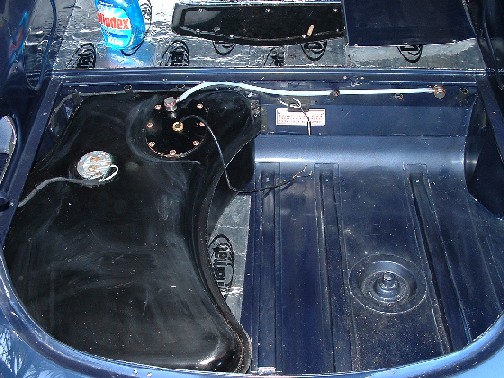
Here is
the fuel tank after much toil. I had a heck of a time with this. First I
sent the tank out to a local radiator shop where they dipped it and coated
the inside, like a typical radiator shop they just shot black rattle can
on the outside right over the rust and dirt. So. I had to strip the outside
and repaint. After this was resolved, I discovered that the tank was a very
tight fit in the trunk. When I replaced the tub and most of the rear sheet
metal. a couple years ago, I had no templates or measurements to set the
back of the tub. So I found that it was about one inch to near the rear
wheel well. The result is that the tank was almost impossible to get in.
I managed to get it in after two weekends of cursing, but it is not a mistake
I'll ever make again. Next time I'm going to take some measurements before
hand from a known straight car. After getting the tank in I had to grind
out the mounting holes to get the bolts to line up. Lots of dirt and small
paint chips happened in this process in the tank area. I touched it up and
it isn't seen once the tank is in.
The rubber
molding went in without any issues. But you really need to be careful when
doing this and take your time. Its easy to damage paint wen working on these
kinds of things.
More rubber
molding. I made my lower door gap pretty close so had to make sure the weather
strip was glued down perfectly to the track. I used a razor blade to trim
the back side of the stripping to allow the door to shut flush.
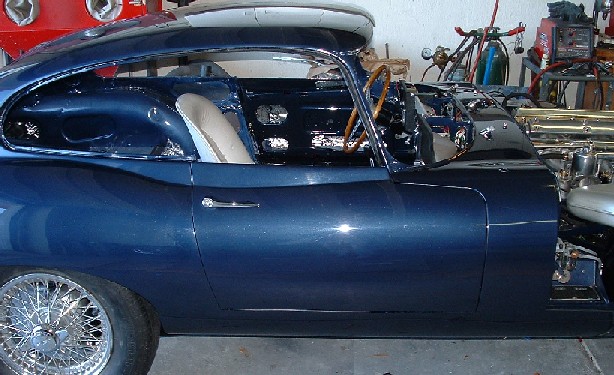
Here is
the door gap so far, you can still see a slight ridge on the rear edge of
the door, I will continue to tinker with this as the car comes together.
Close enough for now.
Now the
door handle is on, i am still struggling with the lock mechanism but I'm
sure its just adjustment.
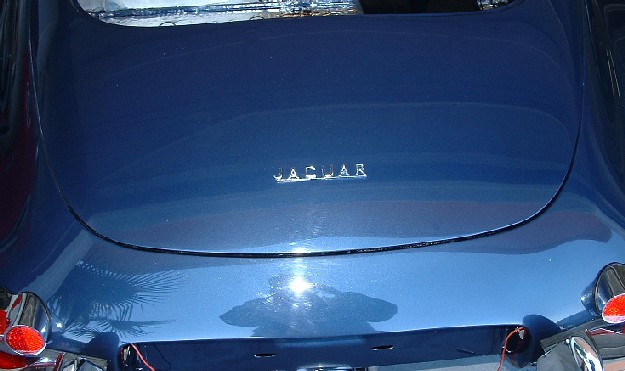
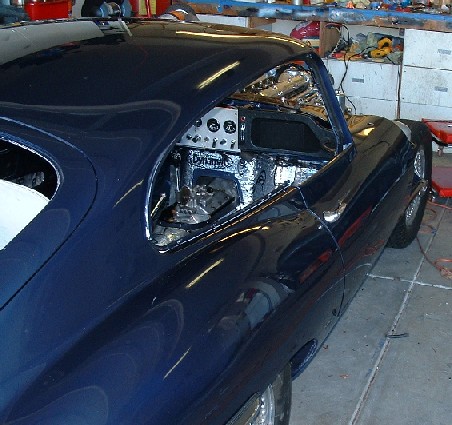
Simple
is so good! Here I have the Jaguar logo in place temporarily. I will take
it off and buff out the hatch one more time before clamping in it in for
good.
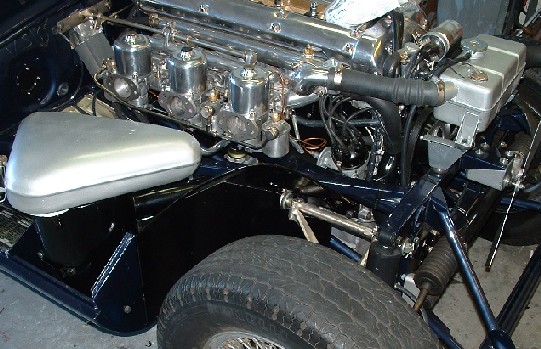
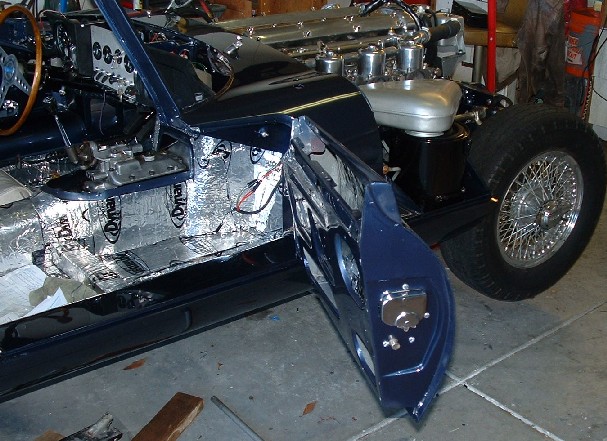
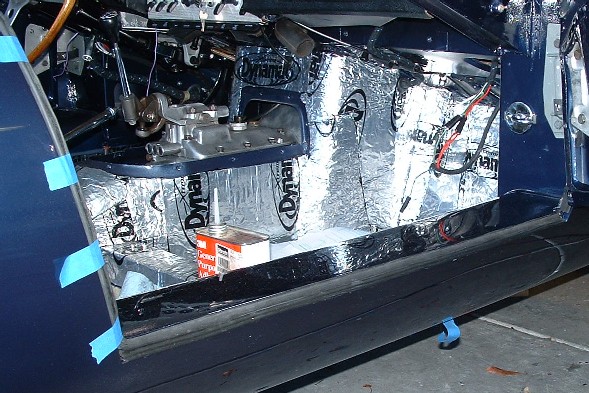
I went
ahead and put the fender wells in, I'm just about ready to start the car
now and hope I won't have to remove these again.
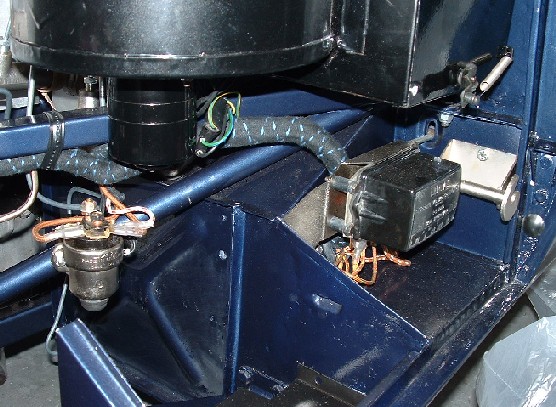
I have
the Driver's side Fender well in at this point, it has the horn relay mounted
on it and so I thought it would be good to get it in before I started the
car. Just need a battery now.
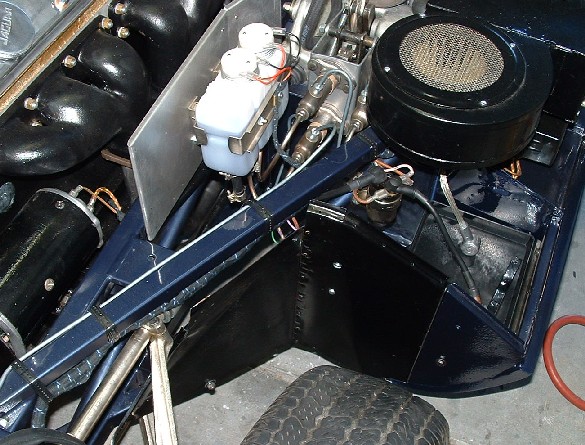
Battery
in and ready to go, I won't connect it until I'm sure the electrical system
is all correct.
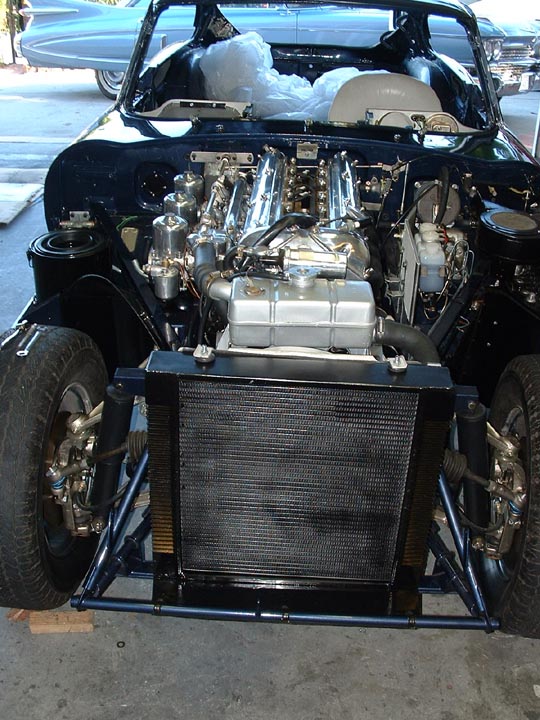
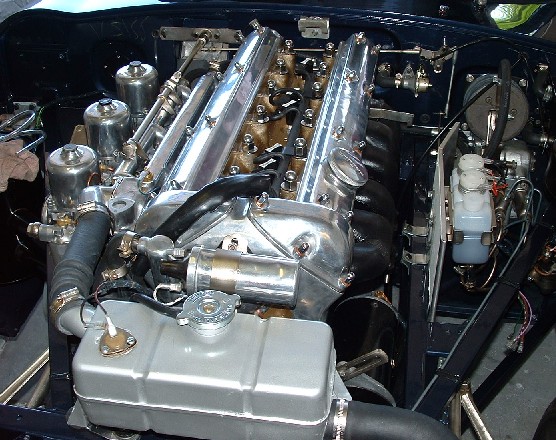
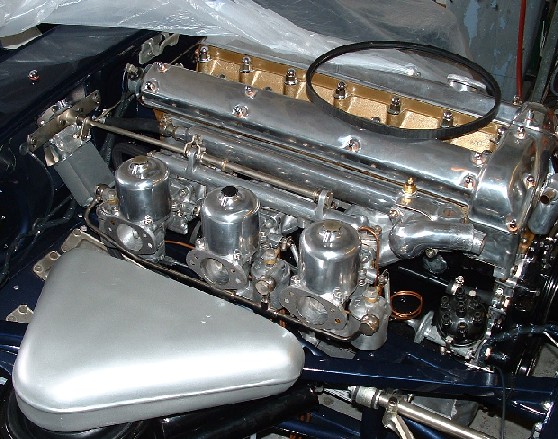
Here is
a fairly correct 3.8 Liter E-type aluminum radiator reproduction. I got
it from cool cat. Seems very well made. It isn't exactly like the originals,
but should be good enough for the judges.
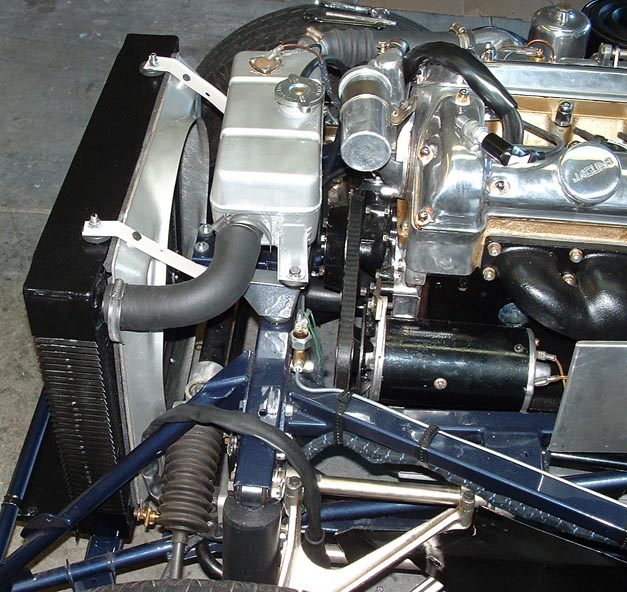
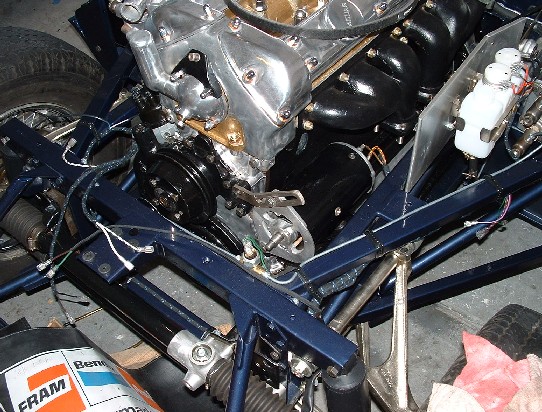
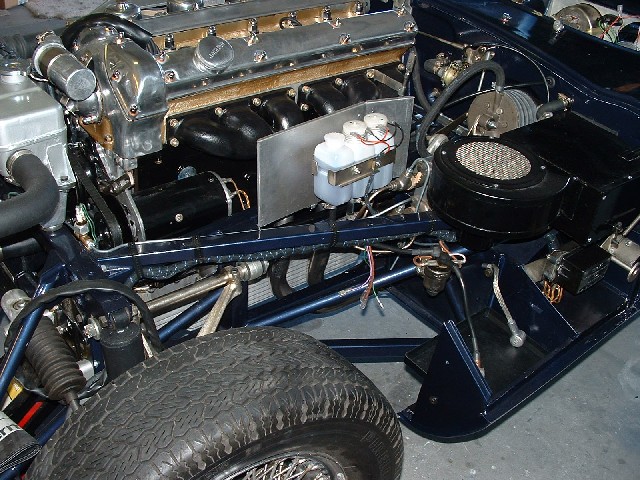
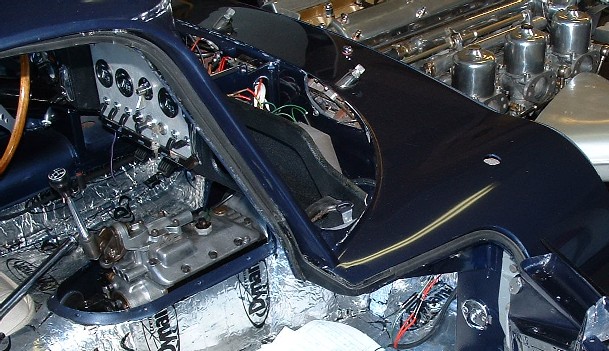
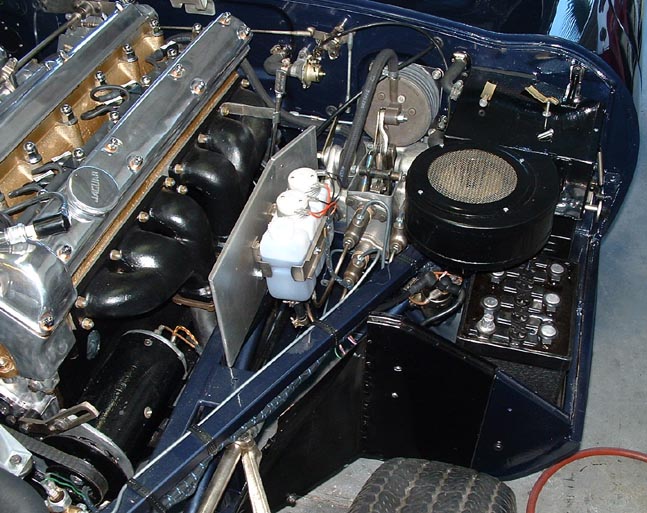
Getting
very close now. I have the radiator in and am trying to get spark. You can
see the number 6 spark plug out. I have dozens of small leaks in the cooling
system to debug but it won't be long now! As soon as I tried to turn the
car over with the starter, I found I had some major problem. It turned out,
that I had to pull the starter because it was dead shorted. I had put a
little plastic bushing in upside down and it was letting the power pin to
touch ground. Many will say its impossible to pull a starter on a 3.8 E-type
without pulling the engine. This is untrue. You need some special tools
but I got it out in a couple hours with an "S" wrench and a modified
5/8" socket. If you need more details email me.
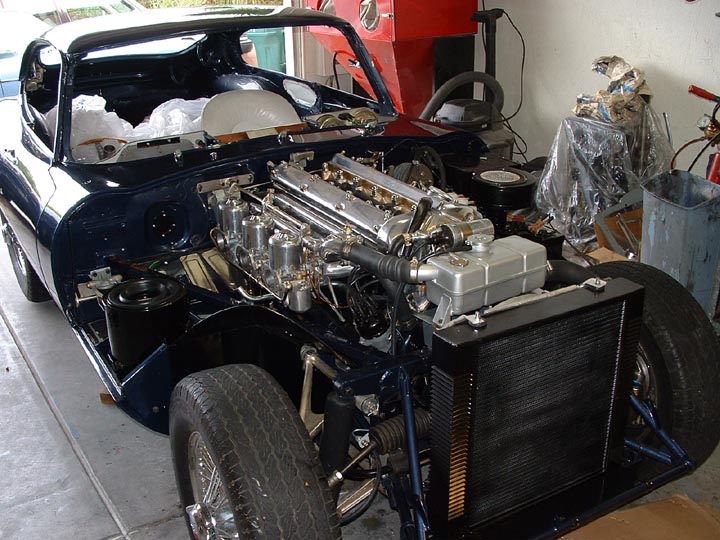
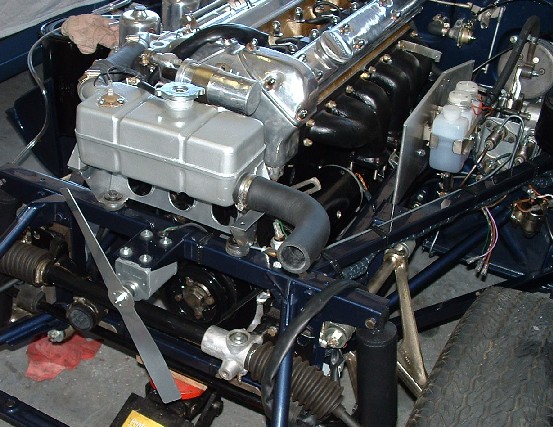
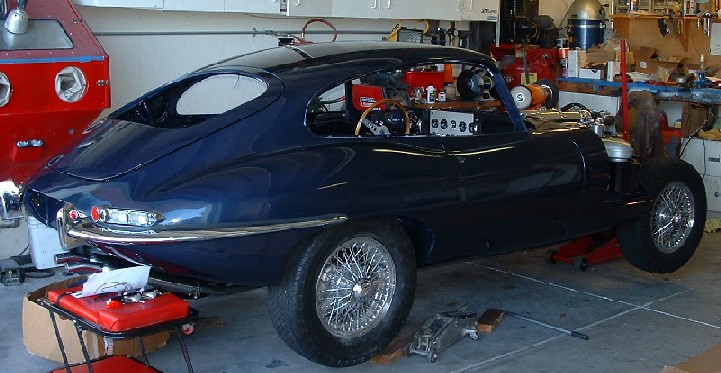
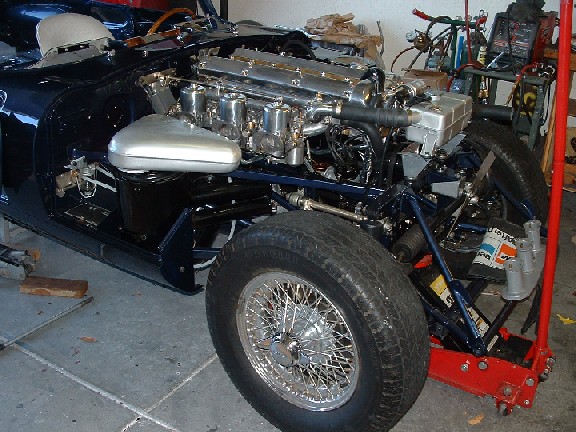
Ready to
run! We have gas, We have spark, we have cooling, we have exhaust. We have
timing set, spark advance set. oil, brakes and clutch bled. Electrical system
mostly working.
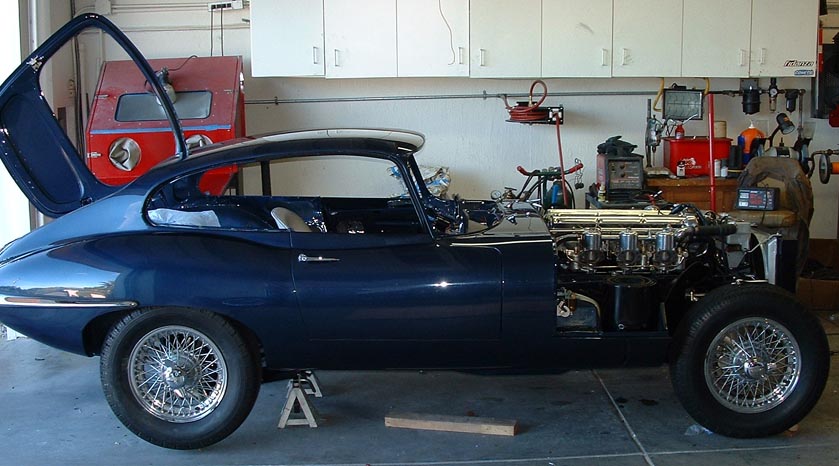
There is
only one not so small problem so far. The transmission won't go into Neutral.
But more about this later, we are ready for fire in the hole!!!
Next up, Fire in the hole!