How to shoot base and clear at home!
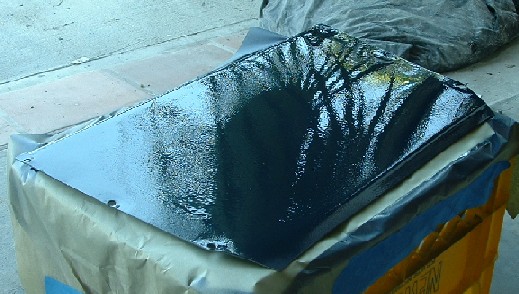 This was the first
part to get color. I masked up the underside of the car, and bonnet wheel wells,
but first shot a test on this inner panel from the bonnet. You can see how much
orange peal I had on the first coat. Fortunately I found that the second clear
coat helped cover this and as the clear dries it shrinks getting smoother. Before
I did any painting I spent a day pressure washing my garage. I took everything
out that was moveable and knocked all the dust off the floors and walls. every
time I paint I wash the floor with water to knock down any dust which may be kicked
up while walking. I try to paint only on days with almost no wind.
This was the first
part to get color. I masked up the underside of the car, and bonnet wheel wells,
but first shot a test on this inner panel from the bonnet. You can see how much
orange peal I had on the first coat. Fortunately I found that the second clear
coat helped cover this and as the clear dries it shrinks getting smoother. Before
I did any painting I spent a day pressure washing my garage. I took everything
out that was moveable and knocked all the dust off the floors and walls. every
time I paint I wash the floor with water to knock down any dust which may be kicked
up while walking. I try to paint only on days with almost no wind.
 After I had the
cleanest possible garage, I used two small fans to blow all dust away from my
work area. The thought was that this would help keep dust from settling on the
paint, and limit the toxic paint fumes in the work area. I don't have a fresh
air breathing system, or a down draft paint booth so I just wore a full paint
suit, high quality respirator and goggles.
After I had the
cleanest possible garage, I used two small fans to blow all dust away from my
work area. The thought was that this would help keep dust from settling on the
paint, and limit the toxic paint fumes in the work area. I don't have a fresh
air breathing system, or a down draft paint booth so I just wore a full paint
suit, high quality respirator and goggles.
 I didn't take
any pictures of the base coat only on the car, but it goes on flat, and is a very
thin coat, mixed 50/50 with reducer. Its almost impossible to get runs in the
base coat if the gun is set up correctly (medium spray pattern). The clear coat
is a little harder, as it is thick and goes on heavy like a primer. Because it
is so heavy it dries slower than the base coat and with the thick build runs are
likely if you aren't careful. It runs but only if you really lay down a thick
coat in a vertical area. I started with a thin tack coat and then did a second
or third pass to get build.
I didn't take
any pictures of the base coat only on the car, but it goes on flat, and is a very
thin coat, mixed 50/50 with reducer. Its almost impossible to get runs in the
base coat if the gun is set up correctly (medium spray pattern). The clear coat
is a little harder, as it is thick and goes on heavy like a primer. Because it
is so heavy it dries slower than the base coat and with the thick build runs are
likely if you aren't careful. It runs but only if you really lay down a thick
coat in a vertical area. I started with a thin tack coat and then did a second
or third pass to get build.
 The color really
looks nice after the clear coat. Its strange stuff, the base coat is flat and
doesn't look at all metallic. After the clear goes on it looks glossy but still
no metallic flake. After the clear coat dries does it show off the metal flake.
One really nice thing about painting in Northern CA, is that the temp and humidity
is nearly perfect most of the time.
The color really
looks nice after the clear coat. Its strange stuff, the base coat is flat and
doesn't look at all metallic. After the clear goes on it looks glossy but still
no metallic flake. After the clear coat dries does it show off the metal flake.
One really nice thing about painting in Northern CA, is that the temp and humidity
is nearly perfect most of the time.
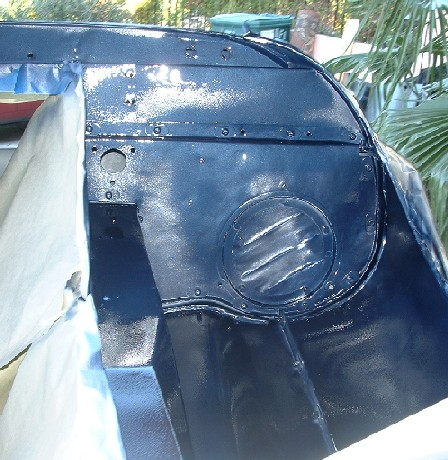
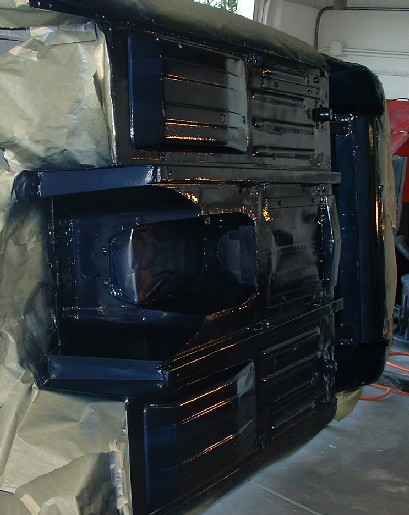 I turned the car
up on its side to paint the clear hoping that the dust wouldn't settle on the
car. I put the fans off camera to the right to blow dust away, and left the car
on its side until the paint was dry to touch. The 2055 clear dries to touch in
about 1 hour, the DCU base coat only takes about 30 minutes get to the same point.
I turned the car
up on its side to paint the clear hoping that the dust wouldn't settle on the
car. I put the fans off camera to the right to blow dust away, and left the car
on its side until the paint was dry to touch. The 2055 clear dries to touch in
about 1 hour, the DCU base coat only takes about 30 minutes get to the same point.
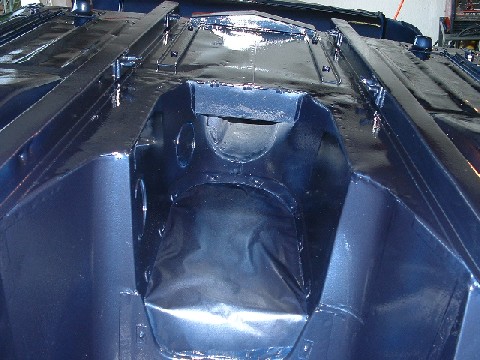
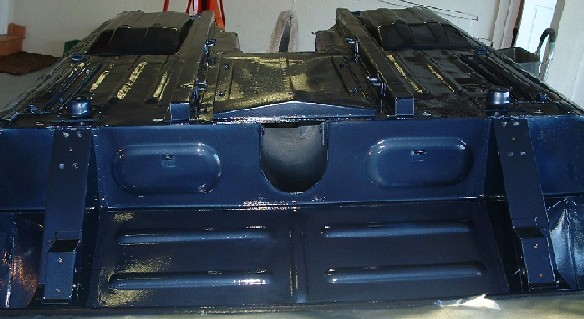
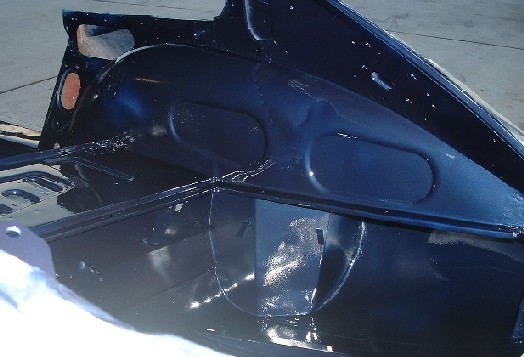
The transmission
tunnel gets the same treatment. Areas like this are hard to paint effectively
with a large gravity fed gun. The large paint tank makes it hard to get into
tight areas. On the inside of the car I used a touch up gun first to get all
the tight areas with color before switching over to the larger gun. I would
recommend buying a cheap knock off HVLP touch up gun. I have a Sears high pressure
touch up gun which is alright but after using HVLP its not easy to go back.
I do find that lowering the pressure to the minimum on a regular gun helps.
Over pressuring a gun seems to be one of the most common reasons for orange
peel.
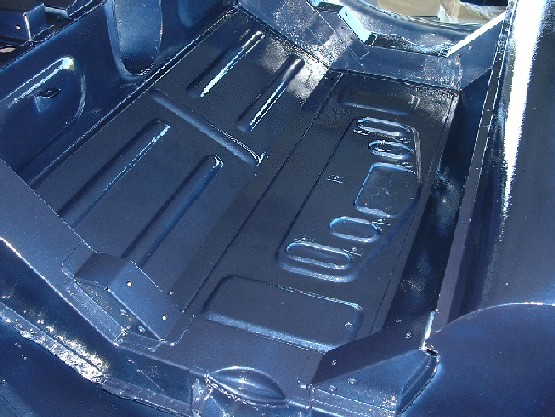
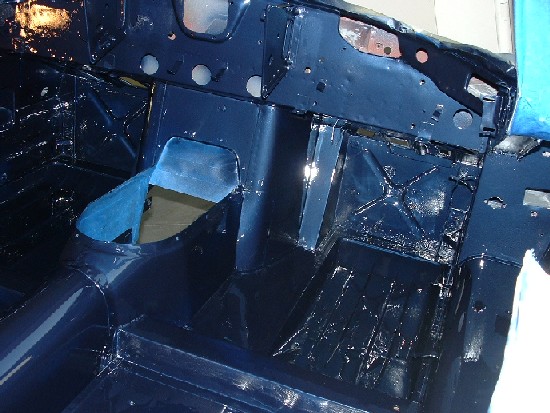 After a week more
of sanding and prep work on the inside of the body I masked up and shot the same
color and clear on the inside. As mentioned before the the tight areas of the
body were done with a touch up gun. Since I did wet sanding on the inside of the
body I had to spend a good bit of time between each coat getting paint dust out
of the corners of the body. For this I found a small tooth brush and high pressure
air gun to be the best bet. After this I did 2 passes with grease and wax remover.
Clean is good where paint is concerned. I had no issues with fish eyes and only
minor dust in the clear coat.
After a week more
of sanding and prep work on the inside of the body I masked up and shot the same
color and clear on the inside. As mentioned before the the tight areas of the
body were done with a touch up gun. Since I did wet sanding on the inside of the
body I had to spend a good bit of time between each coat getting paint dust out
of the corners of the body. For this I found a small tooth brush and high pressure
air gun to be the best bet. After this I did 2 passes with grease and wax remover.
Clean is good where paint is concerned. I had no issues with fish eyes and only
minor dust in the clear coat.
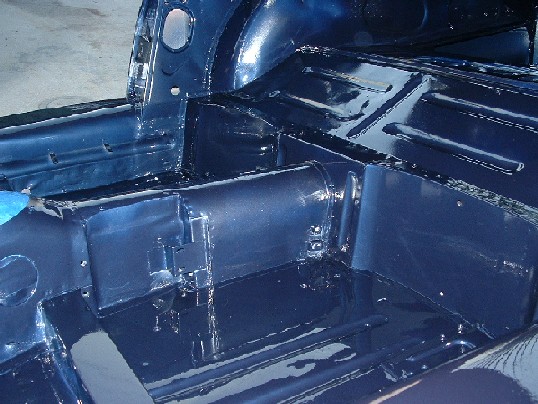
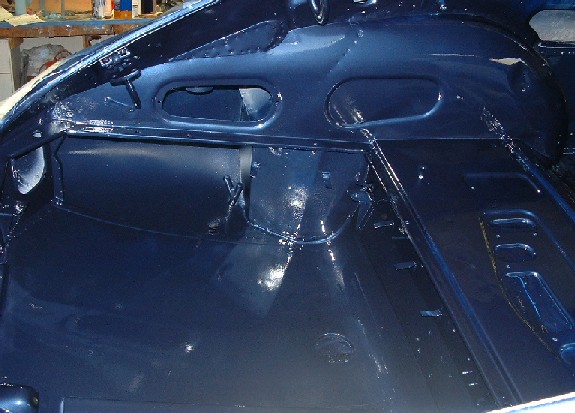 The trunk area
around the spare tire will be just about the only part of the interior which will
be visible once the car is complete. I took extra time to sand out and prep the
spare tire area. I may even go as far as color sanding this if I get really crazy.
The trunk area
around the spare tire will be just about the only part of the interior which will
be visible once the car is complete. I took extra time to sand out and prep the
spare tire area. I may even go as far as color sanding this if I get really crazy.
Much better
than new, seems a shame to cover it up, but all this will be eventually covered
in red leather interior, should be sharp. I'll need to clean the threads inside
the body with taps as soon as the paint is good an dry.
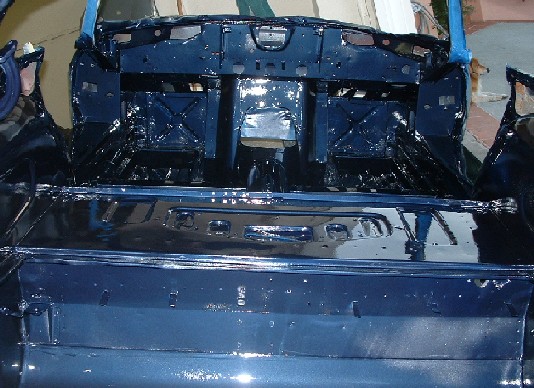
Now that everything
is painted I will be taking the car off the rotisserie and mounting the bonnet.
I will mask up the inside of the car to keep any sanding dust or primer etc
from getting inside the car while I do the finial sanding. No reason to have
to clean all this again.
One more picture
of the inside of the body. One small dent I didn't fill in the middle of the
picture. Won't show up when covered but would have been easy to fix.
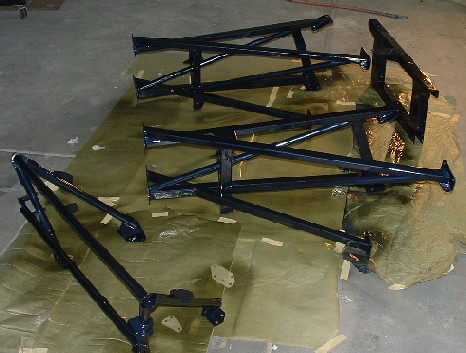
I Painted the
frame rails at the same time. These were not easy to get completely covered
I put two coats of color on and rotated each part to insure good coverage on
all sides, but still a few areas came up a little thin on paint. I may have
to do some touch up later.
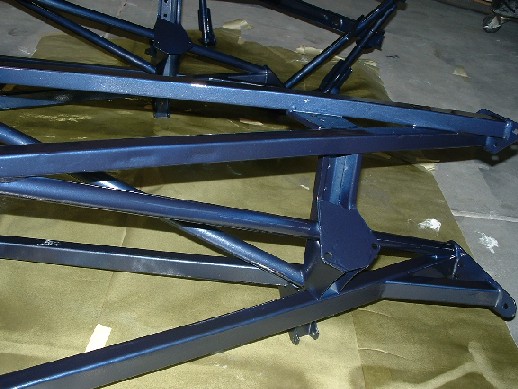
Two small dents
in one of the original frame rail. I didn't see these as big enough to force
replacement. both are going to be almost impossible to see when the engine is
in place.
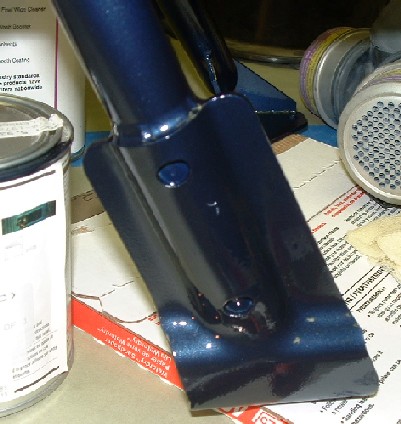
One more paint
picture for now, this is the bonnet mounting frame. Two coats of high build,
two coats of color, two coats of clear. 1 base coat of epoxy primer.
More
Plating, Nickle vs Zinc!