The work on this page has taken about 1 month and was during February and March 2004. I would estimate about 40 hours of work.
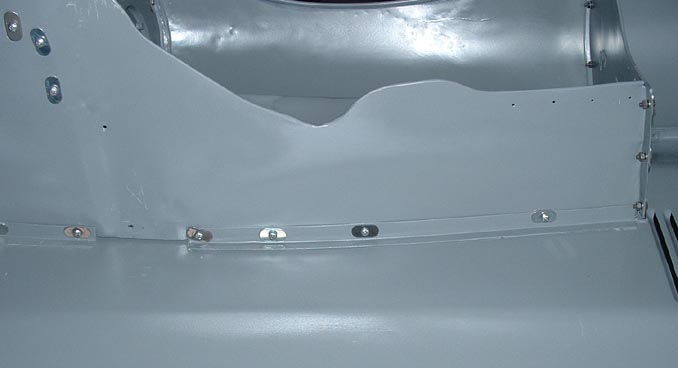
Gluing in the vent supports with Sika-Flex was straight forward. I had scribed the exact place of each while the bonnet was together and mounted on the car. I sanded out all the primer and filler from my previous attempt at gluing them in to give a good scuffed surface for adhesion. Sika-flex is interesting stuff, it dries slowly and turns into a hard rubber. It gives a slight amount without cracking, and is nearly impossible to get off once its dry. One calk tube was more than enough to do the entire bonnet.
Before finial gluing in the vent supports I did as much as possible to get a flush fit. This involved some minor bending of the braces. The fit was nearly perfect in most areas with less than 1/8" gap in the worst places.
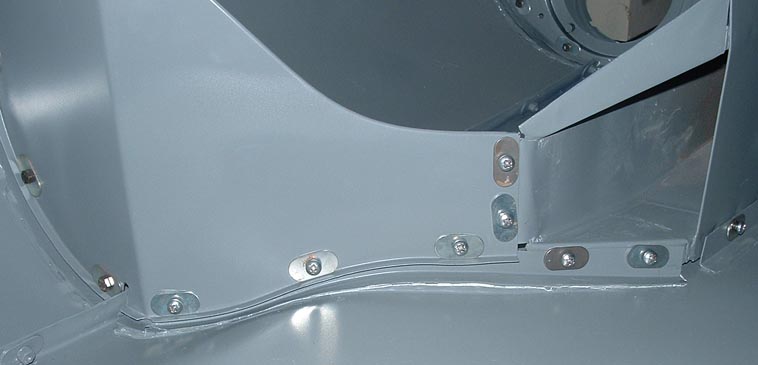
There was one area where the fit was hard to get perfect, I had no way to bend the part enough to get a perfect fit. I ended up using Sika-flex to fill in the gap. It was less than 1/4". I have noticed this area having a larger gap on many if not all E-types.
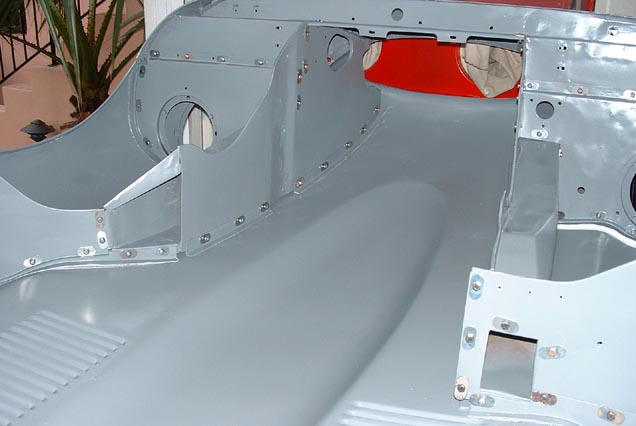
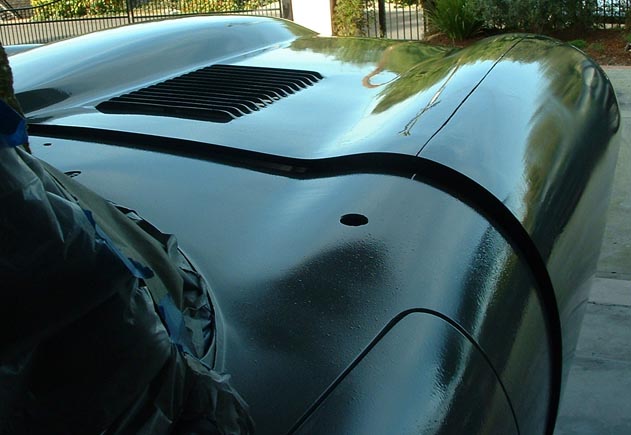
Its just about ready to go back on the car now. I didn't glue the front panels in until after painting so you can see the white Sika-flex on the right side. I'll touch this up later when the last coat of primer is shot on the outside of the bonnet.
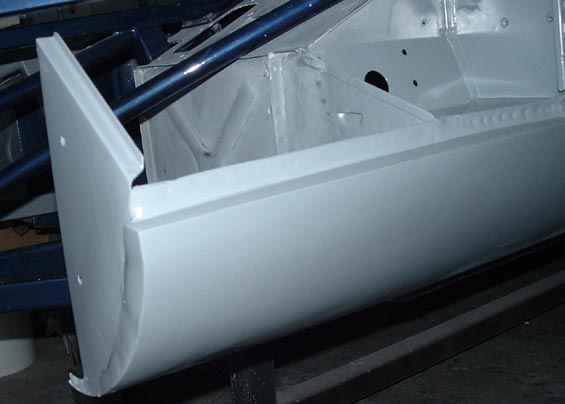
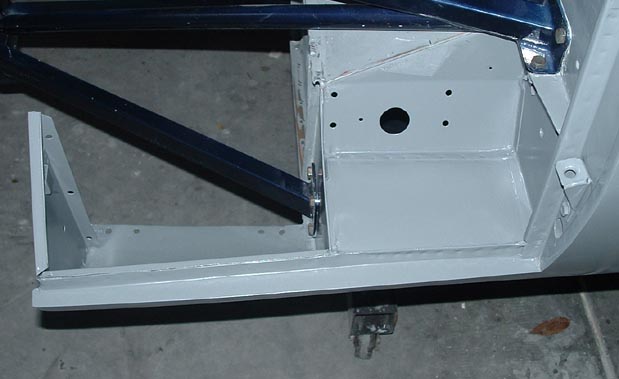
The sill gussets, came out pretty well, I will need to do a little minor dressing on the front edge, and see how the fit is after I mount the bonnet again.
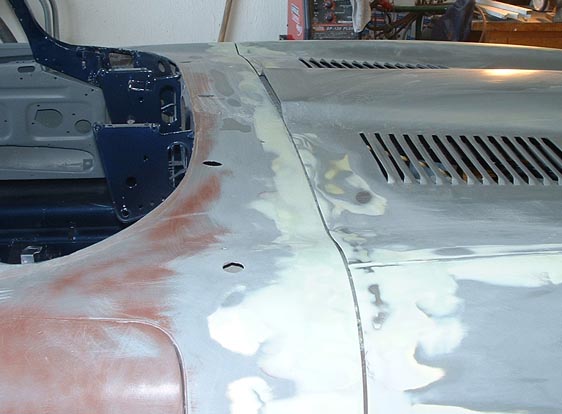
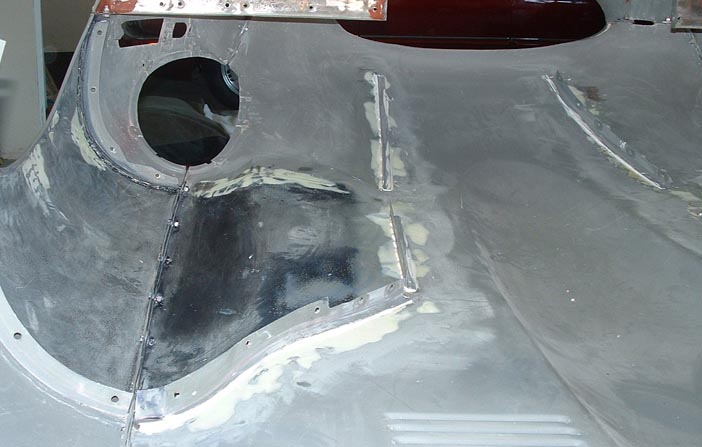
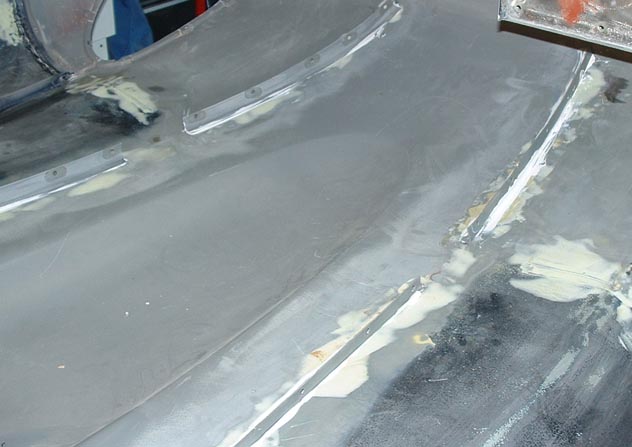
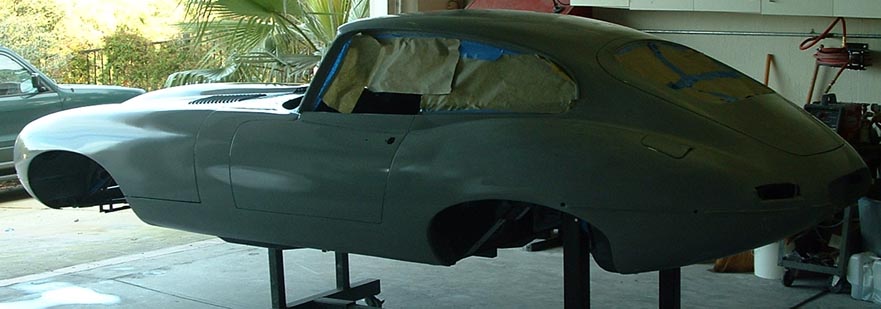
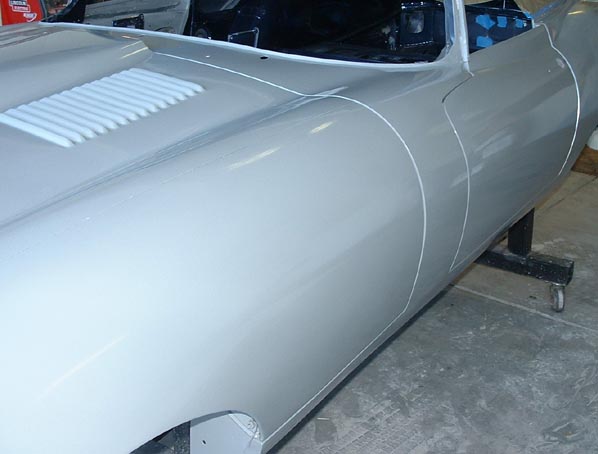
After getting the bonnet back together and painted, it was remounted to the car and the final fitting was done. I had previously done some blocking around the cowl so things were close, however not close enough. I loaded filler in several more times and sanded out to get a perfect fit. 90% of the filler gets sanded away, but its quickest to do lay down several coats and feather it back about 6-9 inches from the cowl and rear edge of the bonnet. Ding down any major high spots and fill over the small ones. I use 220 wet and dry sandpaper to rough these in, then cut over to 400 grit. After I feel like I have it dialed in, I will shoot another coat of high build on the bonnet.
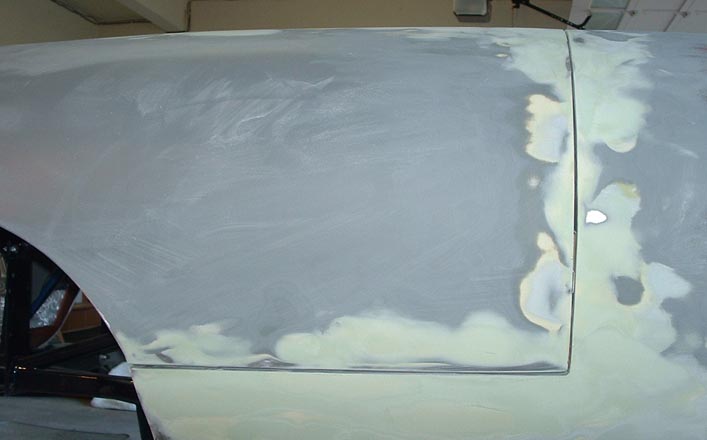
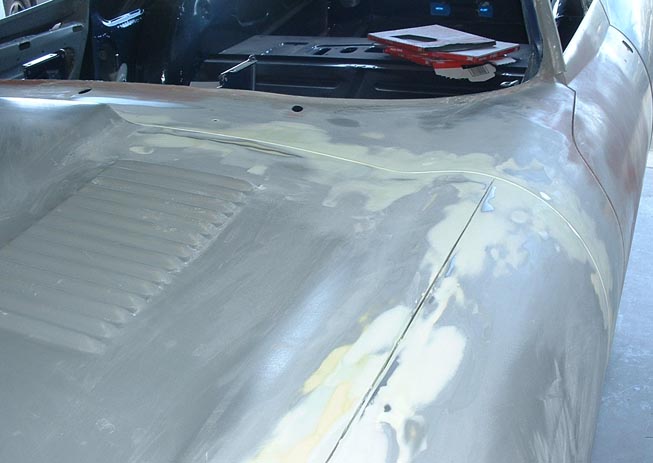

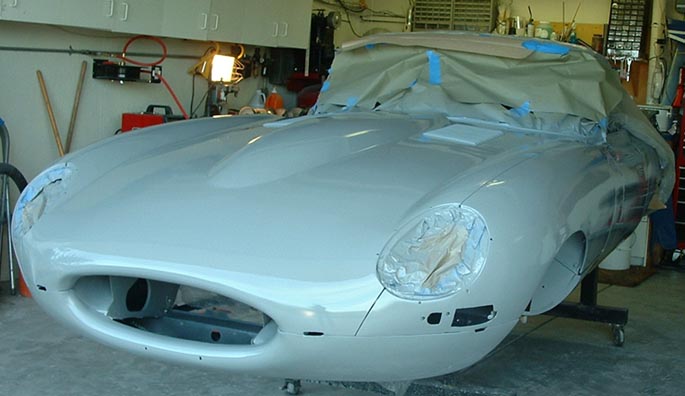
After all the high spots seemed to be taken care of I shot another coat of primer. This was a very heavy coat of PPG NCP 280. I made up a quart and slightly over reduced it to get it to flow into any hidden low spots. Then I shot on the bonnet, cowl, sills and door until I ran out. Probably about 2-3 coats on each. The bonnet isn't latched in this picture, so you can see the edge of it sticking up.
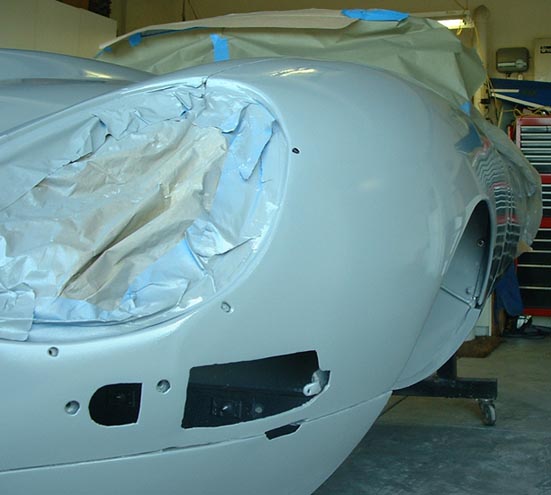
Another touch up pass will be required on this to get out a few missed high spots and some accidental sand through.