Shooting color and clear was about 3 full days of work, done in 3 batches about 30 hours of labor including masking and fixing the many small mistakes!
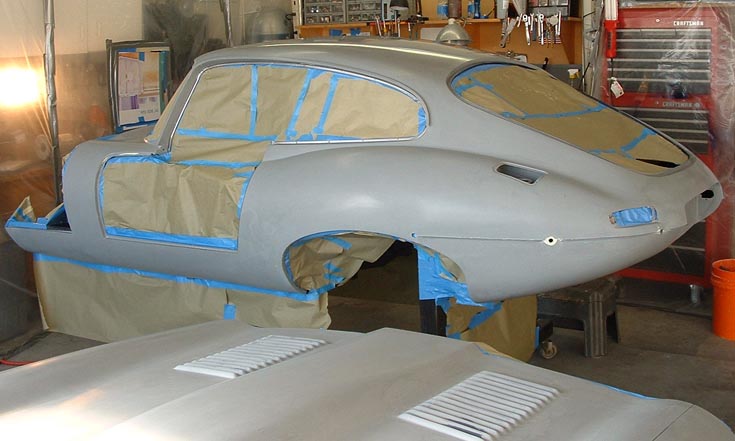
Prep work is the first order of business in painting. Before I even considered getting out the paint, I went over the car with a fine tooth comb; found many small problems which were corrected. I masked up everything next and found more problems and fixed them, finally I went over everything with a tack cloth and 2 or 3 passes with grease and wax remover. Even with all this I noticed several problems I missed when I shot paint. Grrrr!
Before I put out the panels for painting, I went over the entire booth with soapy water. I mopped twice, and wiped down the walls with anti static spray. This is 50/50 mix of Alcohol and water.
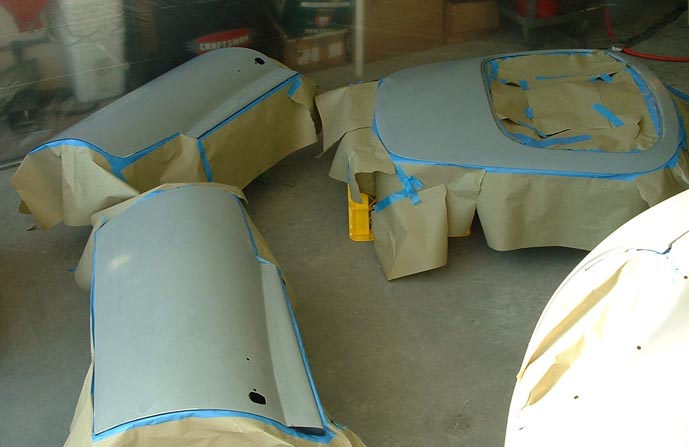
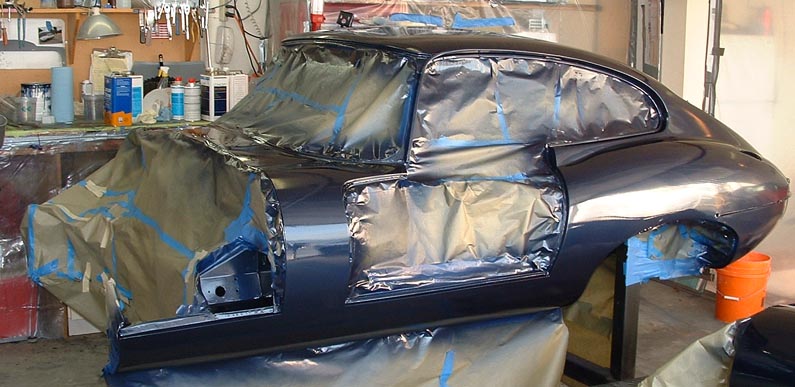
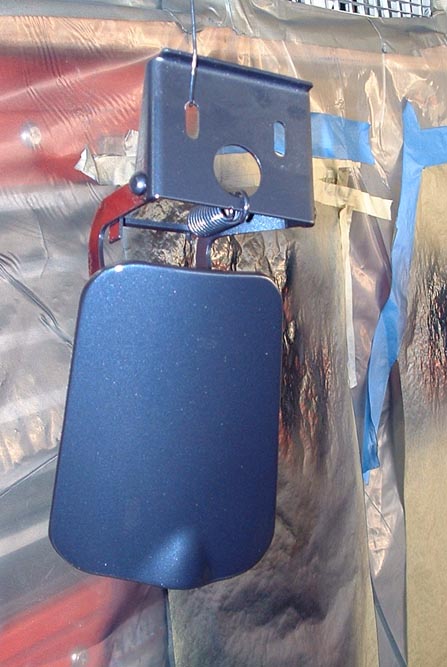
Before I got to the point of shooting the major components of the car on the outside, I had already done two batches of other parts including the inside of the doors and bonnet, and the subframe and other small bits of hardware, like the heater vent doors and nuts and bolts that would be on the subframe. This was helpful to get the kinks out of my technique and the booth before doing the most critical painting. The more I paint the better it gets. After each shoot of base and clear I had to clean up the booth. Dust is amazing in that even in a more less sealed booth it comes in on your clothes etc.
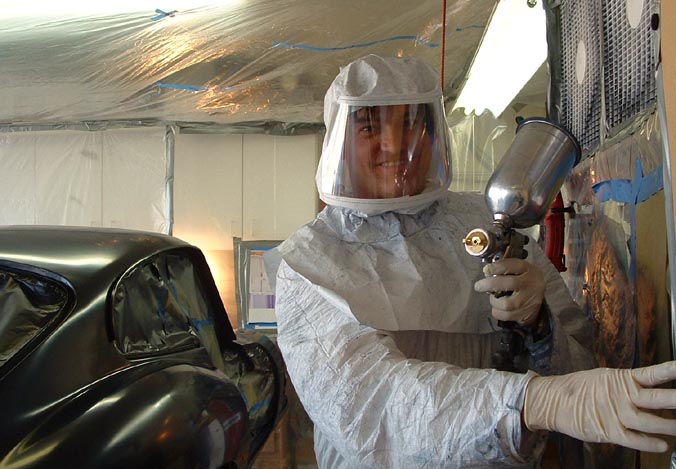
Here I am all suited up and ready to shoot some paint The hood really works well except that I have to change out the lenses between every couple tanks of paint. Its amazing how much paint dust is floating around in the both and sticks to the suit.
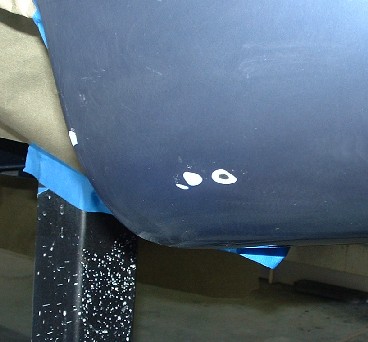
Here I have two coats of base on the car and have caused a nasty run on the rear fender. I had to sand this off and re-shoot 2 coats of base to fix it.
The doors and hatch also were pretty much flawless after two coats of base. I sanded a few dust specs out between the first and second coat but no further touch up was required. DBC goes on smooth with very little orange peel and dry's quickly so runs weren't an issue in most places.
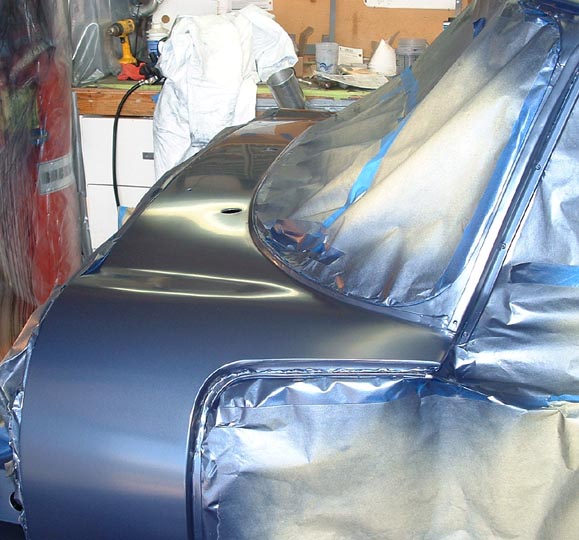
Getting the base smooth with minimal dust and zero runs or problems is the most important thing in a base/clear paint job! The clear can be pretty messed up and be sanded out or recoated. but if you have base coat problems its not going to get better once the clear is on unless you sand the panel out and redo both base and clear. Things are looking pretty much the way they should after two coats of base.
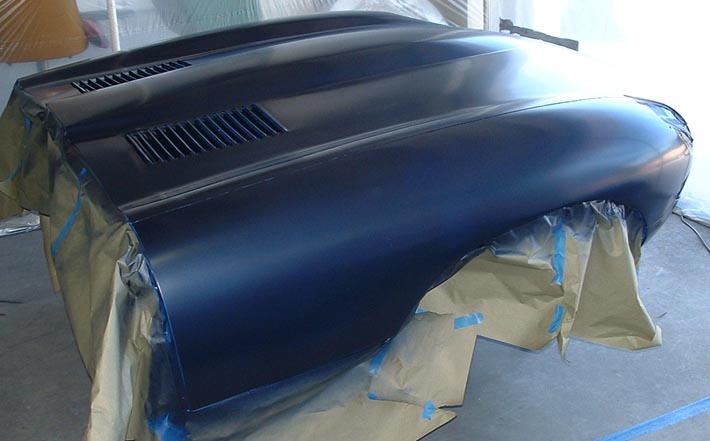
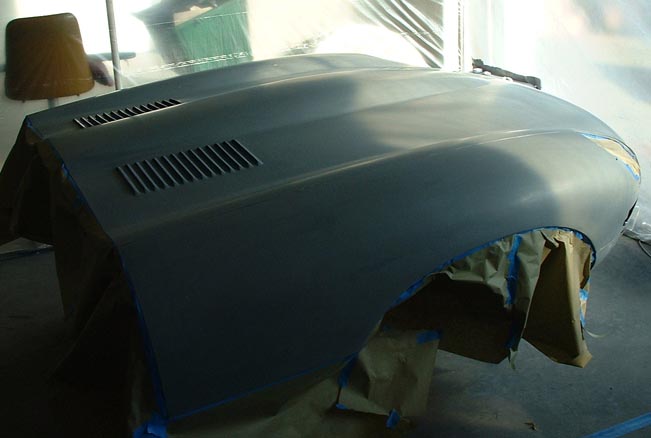
The bonnet also is just about perfect now with two coats of base. After every coat I went over the panel with grease and wax remover to get any dry spray dust off. Also this was a good time for inspection. I found several dust nibs and hairs etc that needed to be lifted or sanded out.
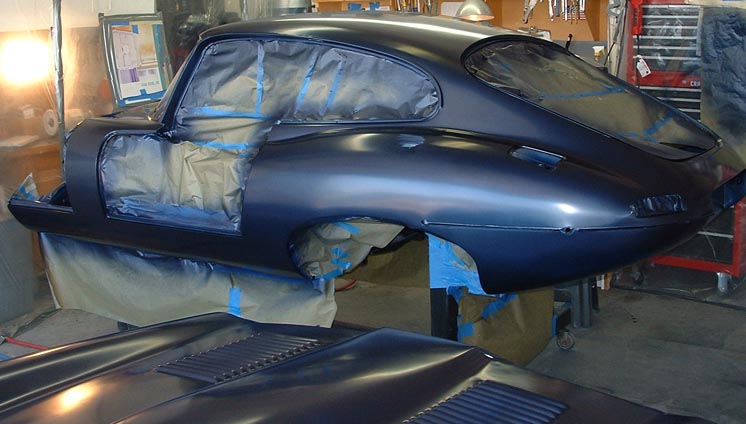
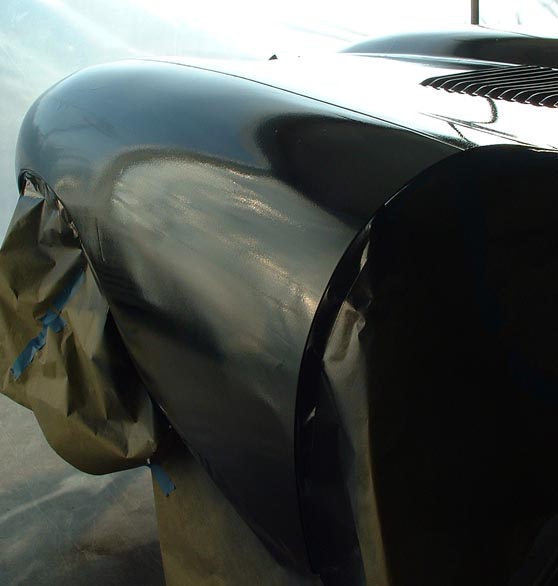
After three coats of PPG 2055 clear things are starting to shine, you can see some slight orange peel and dust in the clear. I found it hard to keep absolutely zero texture in the paint. Even if you over reduce it 10% and lay it on thick letting it run and sag here and there, some texture is hard to avoid. Possibly a clear coat gun like a Sata 2000. This will be easy to sand out later.
Stacking on the clear took all afternoon. I think 3 coats on the entire outside of the car was about 1.25 gallons of clear. Or five quart sized batches through the gun.
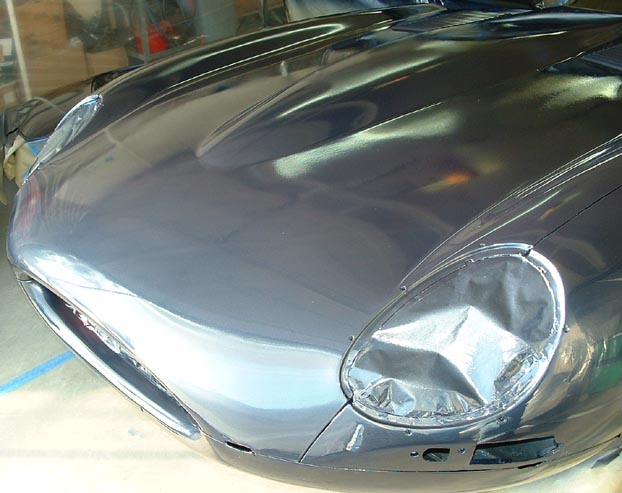
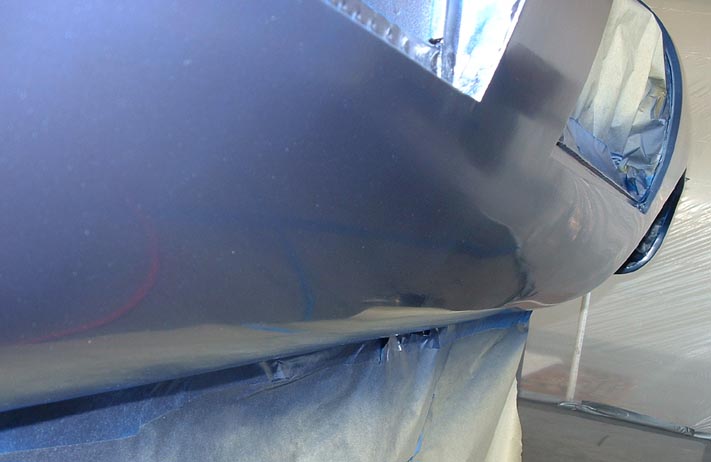
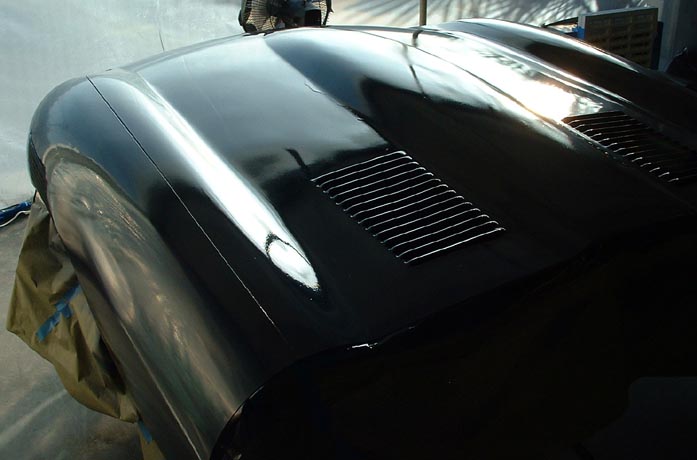
Here its easy to see some texture in the spray up by the blister. I had a massive run on the hood as well. I will try to knock the top of the run off with a razor blade and then sand it out with a hard foam block. I have no idea how much sanding and buffing this bonnet will take but I'm guessing about two months of labor if nothing really bad happens.
Here is a good example of some orange peel, a nasty run, and some dry spray. I even have a dust nib to get out. With 3 or 4 coats of clear its hard to keep some bad things from happening. Especially if you are a beginner painter like me. Fortunately clear coat can be sanded and buffed out.
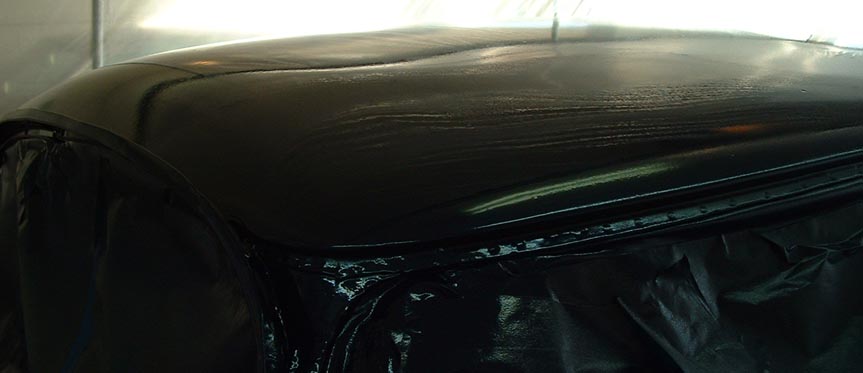
The roof was mostly ok despite this bad photo. It will sand and buff out pretty well. I will probably put 2-3 more coats of clear on the outside of the car after I sand out the first 3. Experts tell me this is the best way to get a show finish. 3 coats of clear, block sand out and 2 or 3 more coats of clear and block sand then buff.
Here is another nasty run. Many many hours of sanding and buffing ahead to get this right!
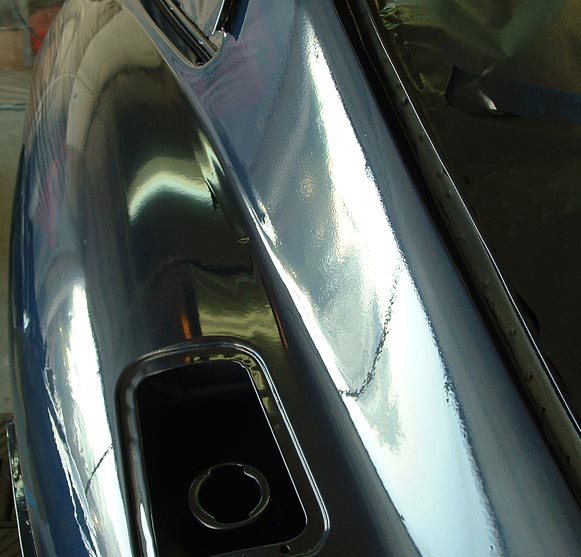
Just another shot of some minor paint texture.
Just another angle of 3 coats of clear, seems a shame to whack that shine off with 800 grit!
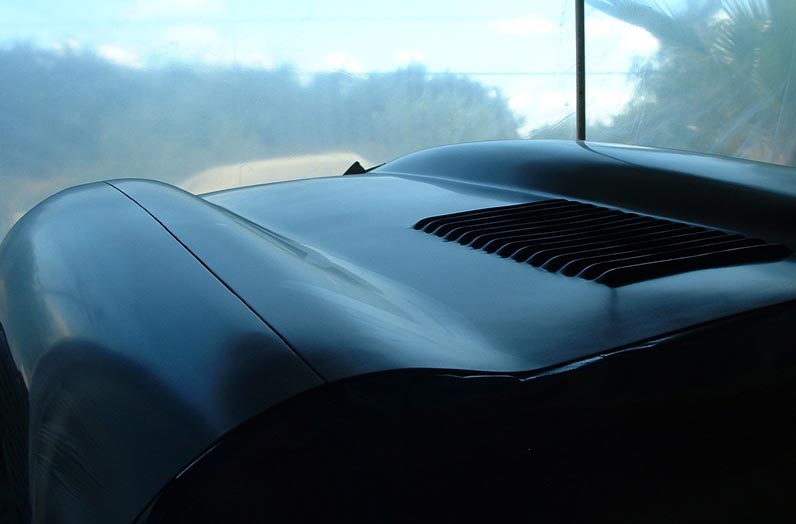
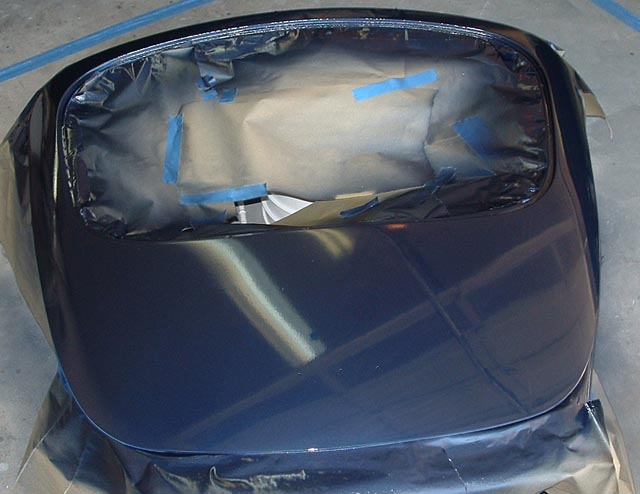
The same 3 coats of clear went on the hatch lid. No runs No drips No errors.

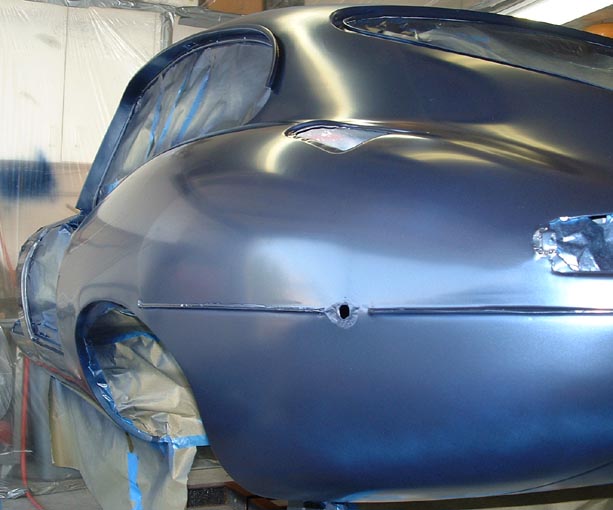
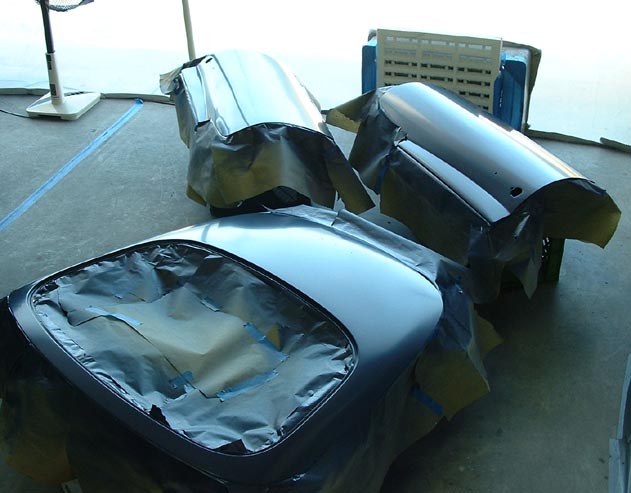
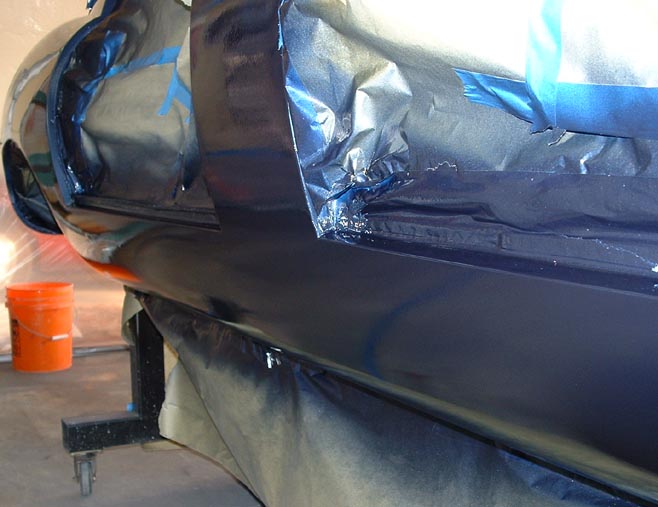
The rear end came out pretty good, can't wait to buff it out!
OK last shot for this page. I will be sanding and buffing for a long time, not sure how long the next page will take to get together. Probably will be June or July 2004.