The buffing alone only took about 30 hours after all the sanding was done, but the total sanding and buffing process went well over 100 hours. It is very hard work I will say!
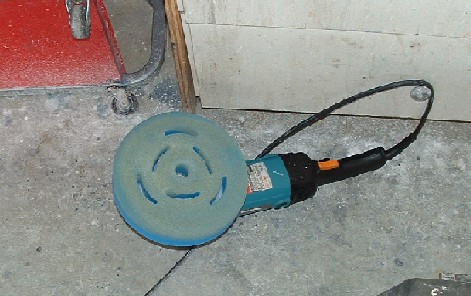
Tools of the trade, a Makita variable speed buffer with Meguiars foam buffing pad. I would hate to think how long buffing out a car would take without it. The foam pad mounts with hook and loop interface, making for quick changes. When buffing the speed is critical, The faster cutting the compound the slower the speed typically. I run my buffer between speed one and three for entire process, never faster. As you speed up the buffer you have to really watch out for over heating the paint. This can cause bubbles or lifting!
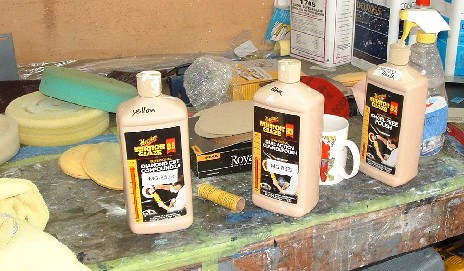
I bought a Meguiars buffing kit with compounds, glazes, polishes, foam pads, the kit came with 5 levels of buffing pads, and 6 levels of buffing compounds, glaze, and polishes. The bottles shown are more than enough to do an entire car. Each compound is to be used with its matching foam pad in a stepped process.
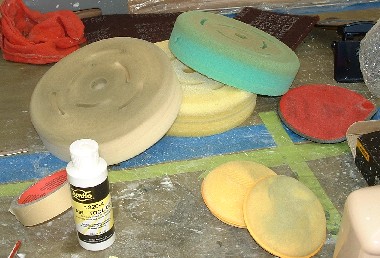
Here are some of the foam pads, the pads are rated in ppi (pours per inch) starting with a yellow pad which is 50 ppi, and ending with white which is 90 ppi. I find most of the buffing is done with the yellow pad, this is the pad which takes the sanded car up to a reasonable shine. The yellow pad is the magic pad in my opinion, it takes the dull 4000 grit sanded clear which is ugly looking to a nice shine in seconds. Like Magic! After the yellow comes green, blue, black, and white! The process of getting a 3 foot square area fully polished only takes about 30 minutes, but is really hard work. Handling a 20 pound buffer with allot of torque and trying to jump around on its own, takes allot out of your arms and shoulders after a 5-6 hour session.
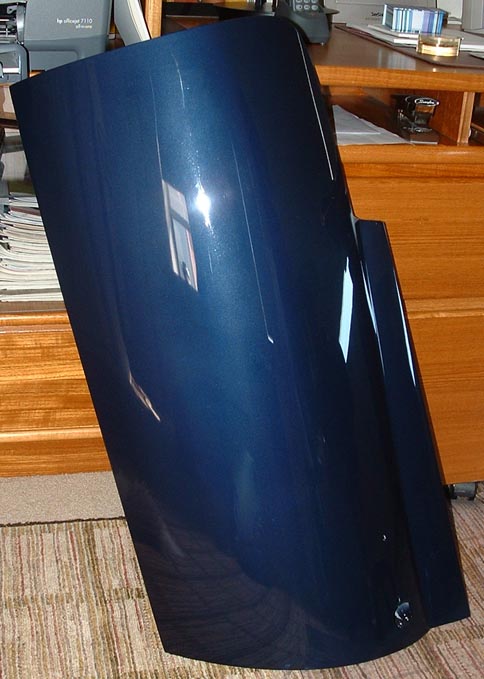
Here is my first panel buffed out, looks ok, as I did the buffing I learned that the better the shine gets the more it shows off any micro scratches which may be left from sanding. I ended up doing several touch up passes with 2500 - 4000 grit paper to get these out. Its easy to do but takes time and patience.
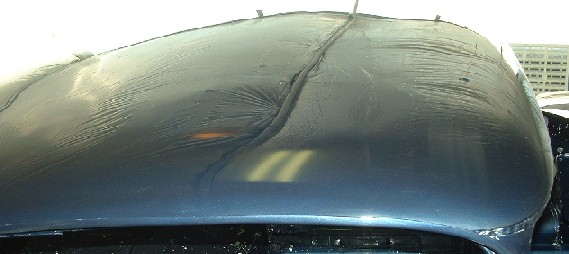
This shot of the roof is interesting in that it shows the reflection of the paint booth plastic, above, You can notice in the center front a reflection of two florescent tubes, which look slightly foggy. One easy way to tell if you haven't done a proper job of color sanding is if the reflection in the paint is foggy. I had to go over this area with 2500- 4000 grit paper again and re-buff.
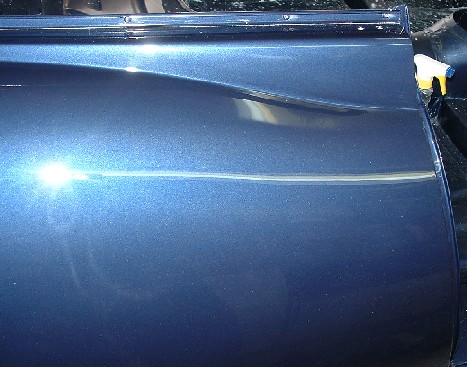
Even the lower sills get the full sand and buff, Notice the area where the rear wheel well starts, This is an example of how the reflection is distorted because the surface isn't smooth. I went over this area some more with a 800 - 4000 grit to smooth it out.!
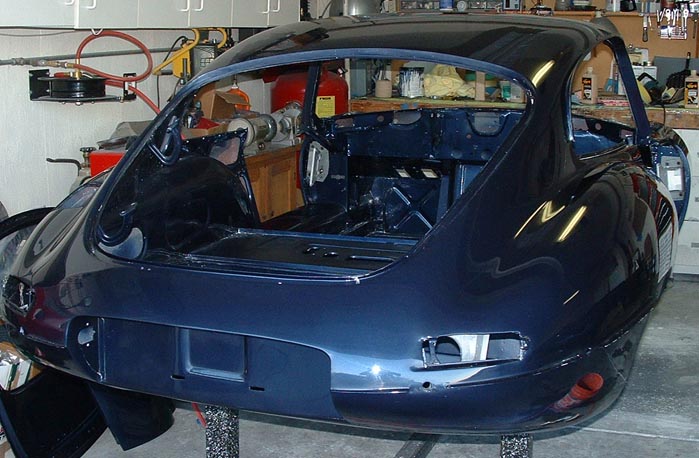
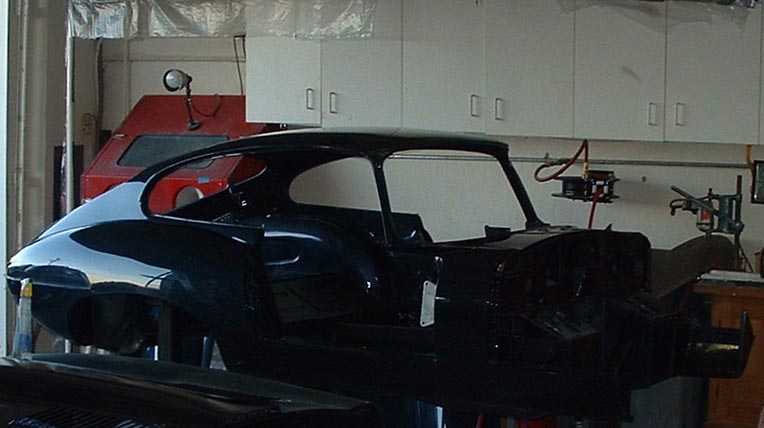
More gloating, its looking allot nicer now that before!
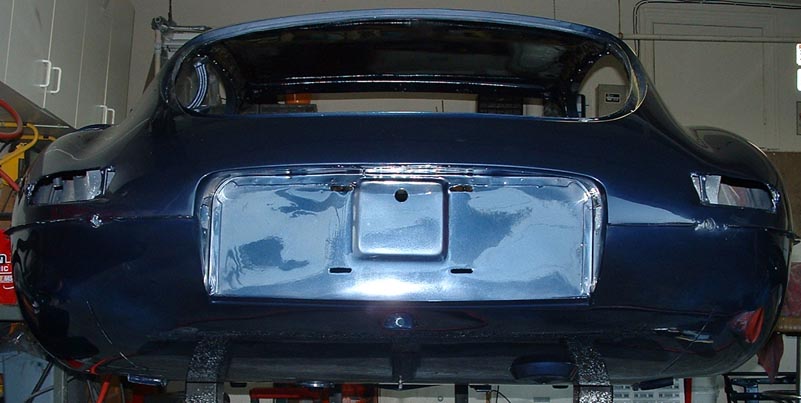
Just another paint picture!
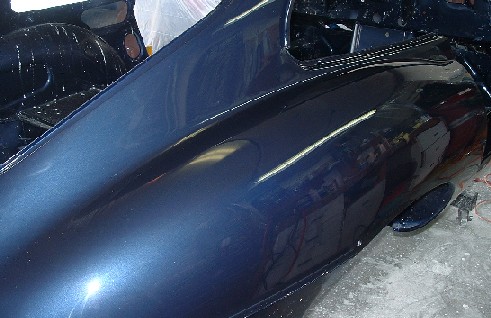
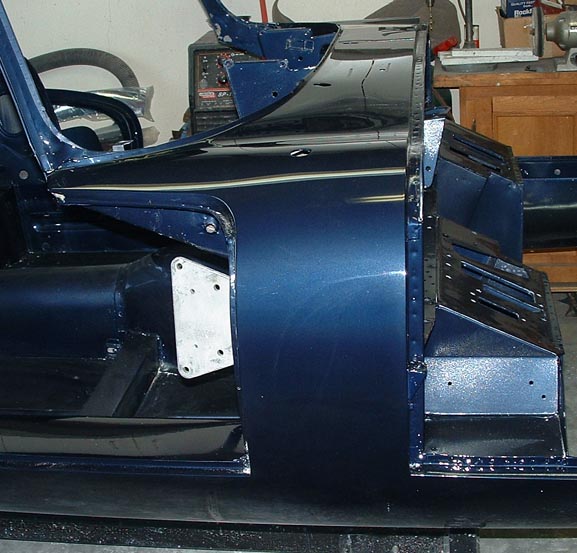
Passenger side rear fender glossing up nicely!
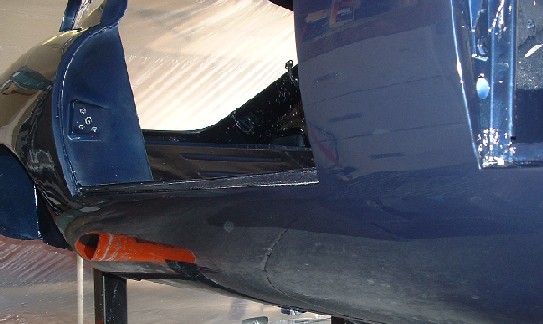
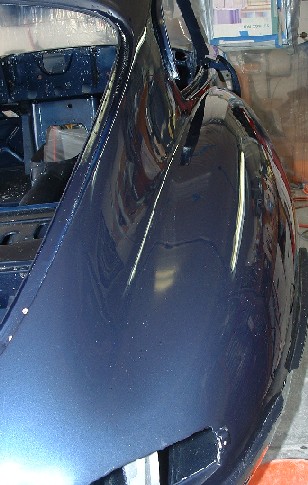
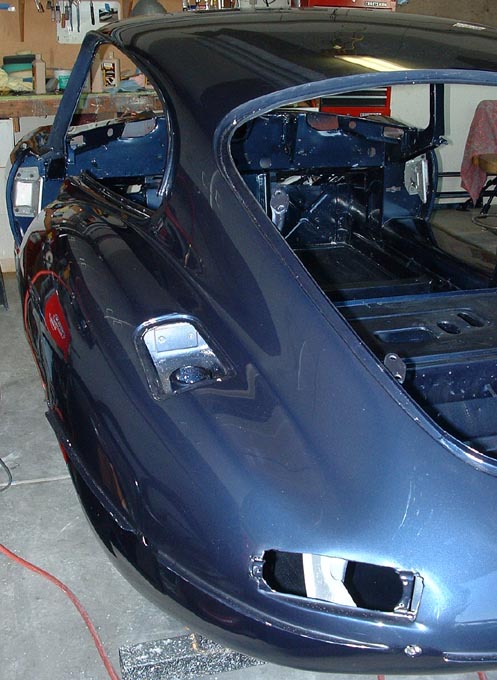
Passenger side cowl is just about there!
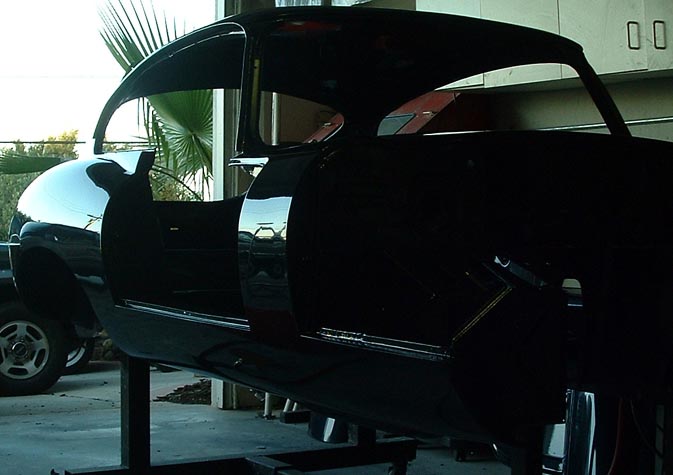
Driver's side coming together too, the flash on the camera really shows off the dust I notice!
Took a few pictures at dusk which really show off the shine!
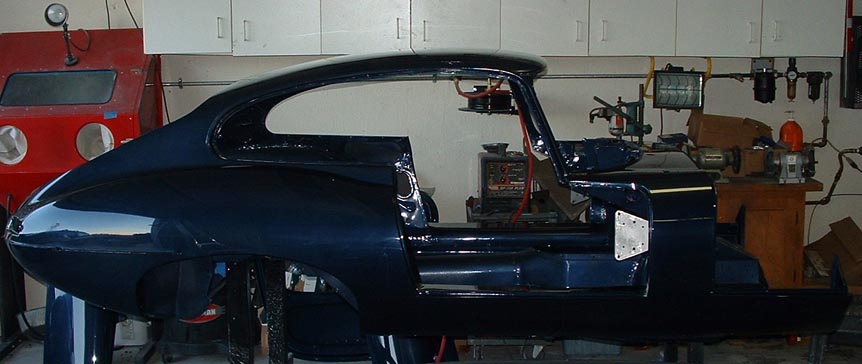
One more picture, I'm still working on the bonnet in the foreground, and will add a few pictures of it after I get finished!