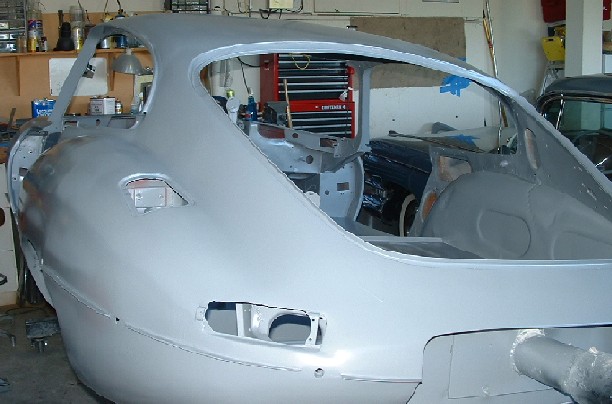
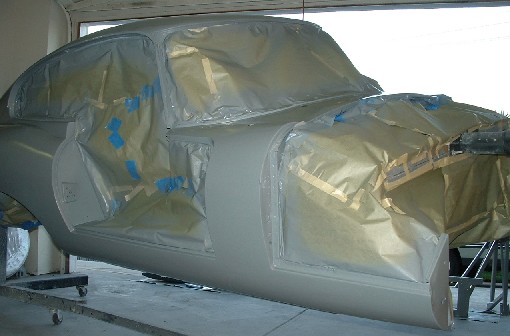
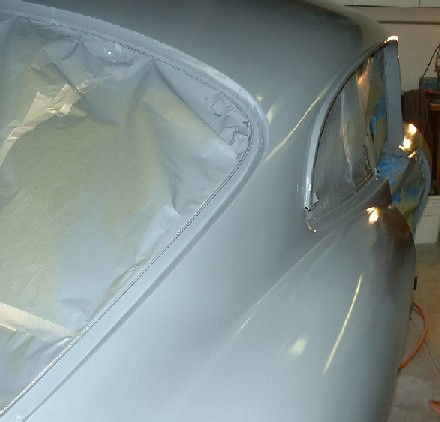
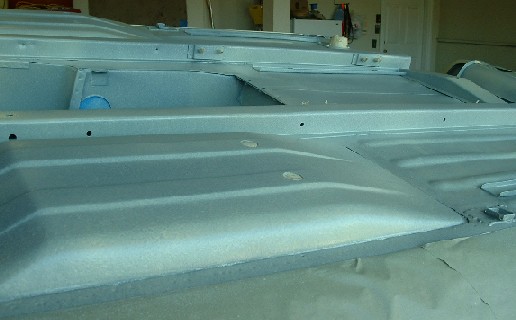
The third coat of primer really went on smooth, almost no orange peel and only a couple runs. I like to shoot a light coat first to form a sticky film over the body and then come back in a few minutes and lay down one thick coat. I use a Devilbiss Finishline paint gun which has been perfect for shooting primer. I like to adjust the fan control and use a wide pattern for the mist coat, and then narrow the pattern for the heavy coat. Its really important to have good light when shooting. I shot all of my paint in an open garage with a fan pushing dust out and natural sun light as much as possible on the work area.
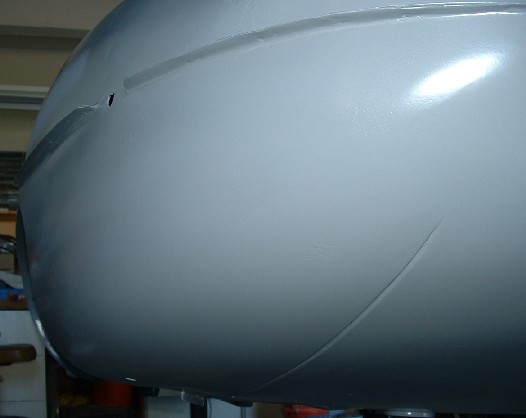
After the third coat of primer avoided sanding again until the doors and bonnet are installed. The next step was to mask up the bottom of the car and shoot 3M rocker guard. Rocker guard comes in a one time use disposable can and shoots like paint. Unfortunately you must buy a special gun to shoot it. The gun was $70 which I thought was a bit high, but the results are worth it.
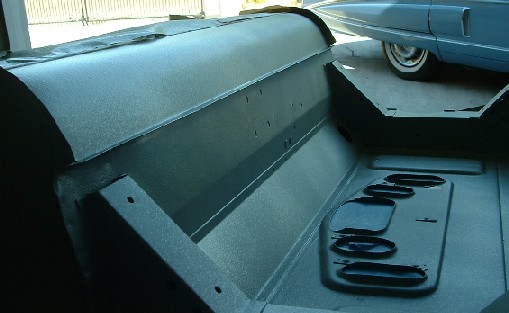
I used two cans exactly of rocker guard on the bottom of the car and wheel wells. Don't waste a drop or you'll run out. If I did this over I probably would use three cans just for good measure. Rocker guard dissolves with grease and wax remover so make sure you are close to painting when you shoot it. You should avoid wiping down of this product before shooting color. On a positive note if you make a few masking mistakes its really easy to clean up the mistakes, just wipe down with grease and wax remover and its good as new.

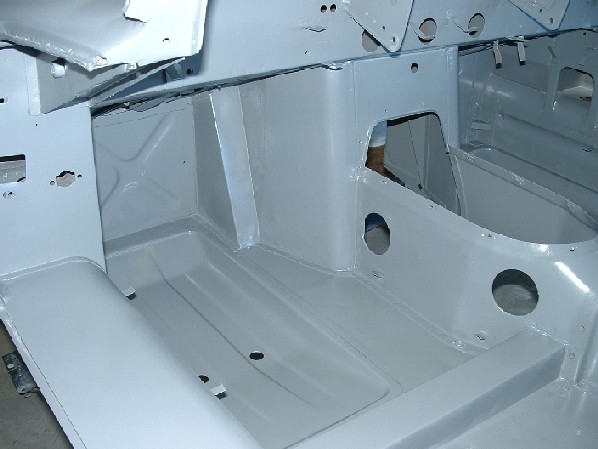
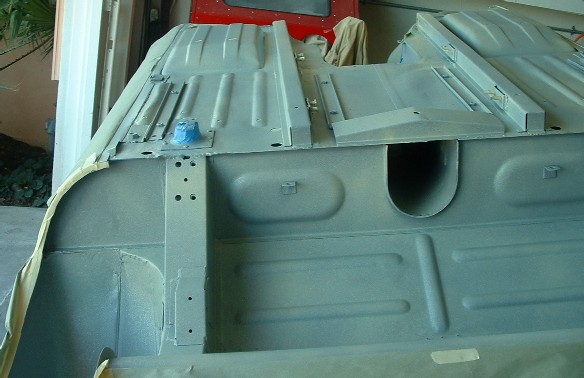
The wheel wells in the bonnet got the same treatment. I extended the Schultz across the bottom of the bonnet in the rail where the bonnet hinges mount. Rocker guard dries quickly and could be coated with paint in as little as an hour. I waited over night just to be safe.
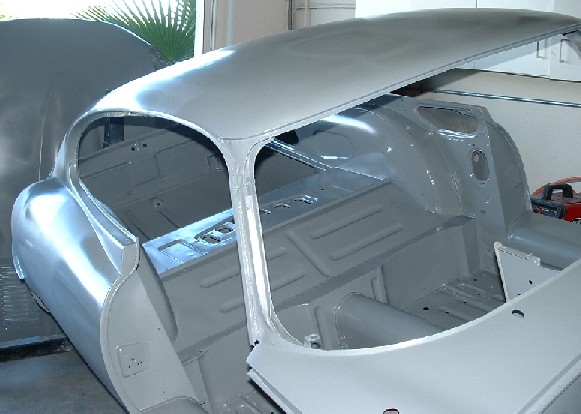
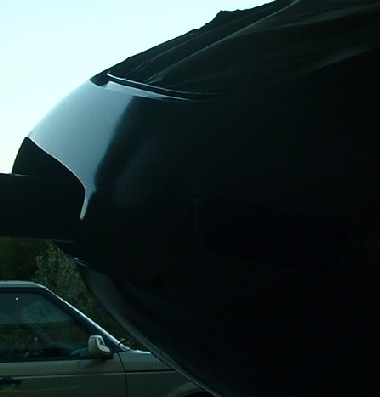
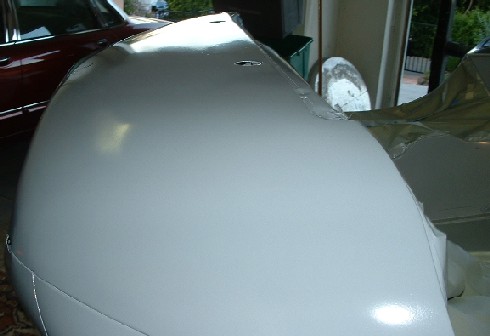
Ready for Color! During the this time I was working with several paint shops to find the right paint brand and color. After much discussion with paint experts, I decided to use PPG Deltron DBC and PPG 2055 clear. I had three possible target colors. Dark Green Opalescent, Dark Blue Opalescent, and Maroon Opalescent. Matching colors to 1963 color chips was a challenge. Most paint shops weren't setup to reference 1960s era ICI paint codes. My better had finial color decision authority, but we decided on the color only after I ordered pints of the 3 target colors along with chips which we could use to make the finial decision. If you are doing this kind of thing for an XKE and need help email me or post to the e-type mail list.