The work on this page has taken about 2 months in Decemeber 2003 and January 2004. Granted these are winter months where work progresses at about half of the summer pace.
First off I
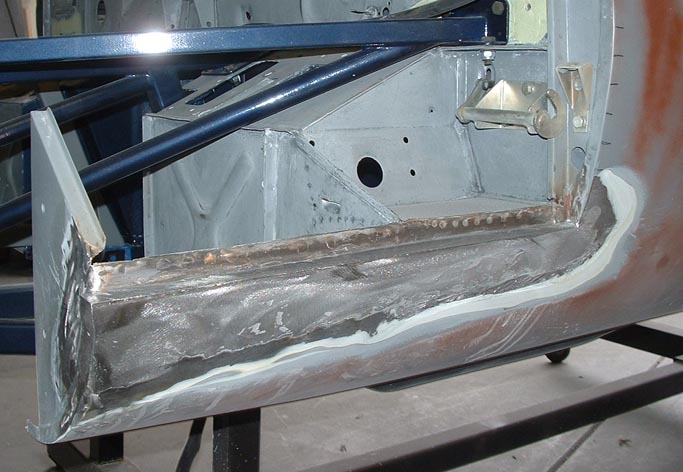
took the bonnet completely apart and cut the lower valance out of the tub. The
valance contains the mount points for the hinges and was bowed from accident
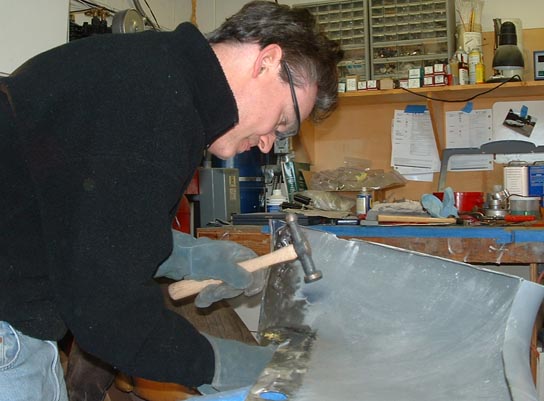
damage. I found that the sheet metal in the lip of the tub was weak and thin,
so I cut out about two inches and welded in new metal. The last thing you need
in the tub is weak metal. This part of the bonnet takes allot of abuse and carries
the weight of the bonnet over many bumpy roads. We wouldn't want it changing
shape on us once its in production. Here I'm planishing out the new lip with
hammer and dolly. Notice the safety glasses, this is possibly the first time
I've used these things in years.
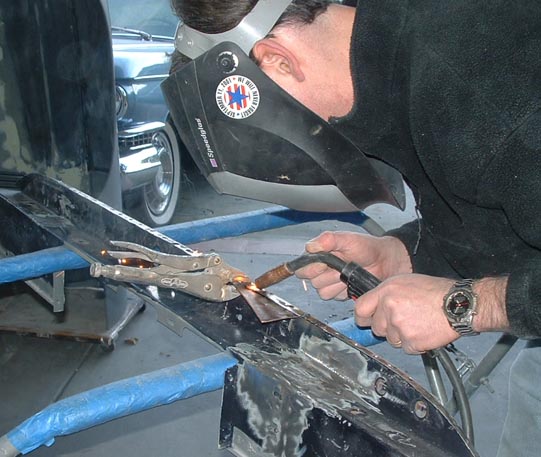
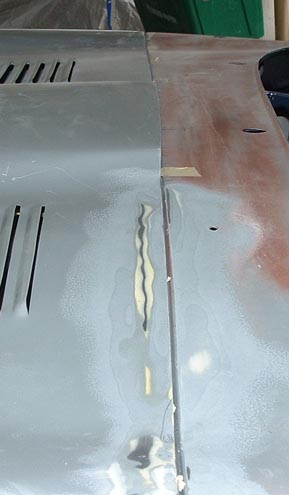
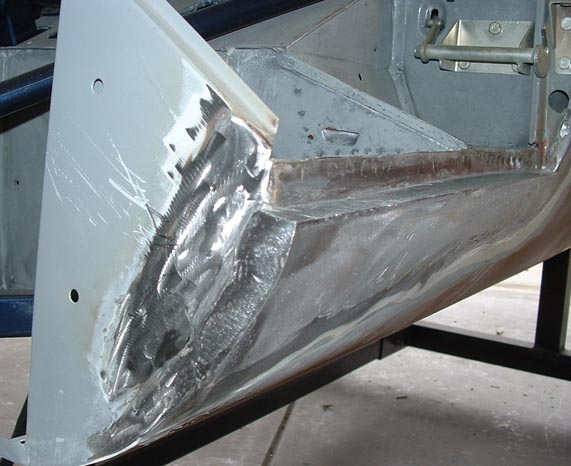
After fixing
up the tub, I repaired the valance. Here I'm filling holes drilled to get the
original spot welds out. Notice the copper backing plate. These copper plates
are a wonderful help when doing plug welding, saves countless hours of grinding.
I welded several steel plates into the back side of this valance to help reinforce
the hinge points. This was a weak area of the bonnet design and prone to failure.
Minor mods like this will be completely hidden once the car is back together
but will hopefully keep the bonnet nice and tight over the years.
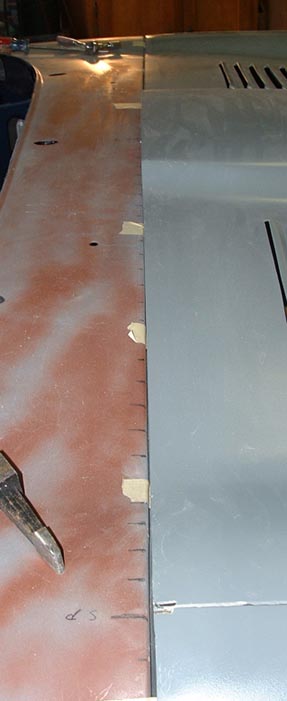
Sometimes after
grinding down the welds I find small holes where the metal didn't fill the original
hole completely. I go over these again but without a backing plate. Just a touch
here and there fills the holes and makes a perfectly clean surface ready to weld
back into the tub. After cleaning up the parts I welded the valance back into
the tub 1/4" further forward, than it had originally been. This was an attempt
to get account for the large gap at the rear edge.
After much welding,
and fighting to get the bonnet back together and on the car, I found that things
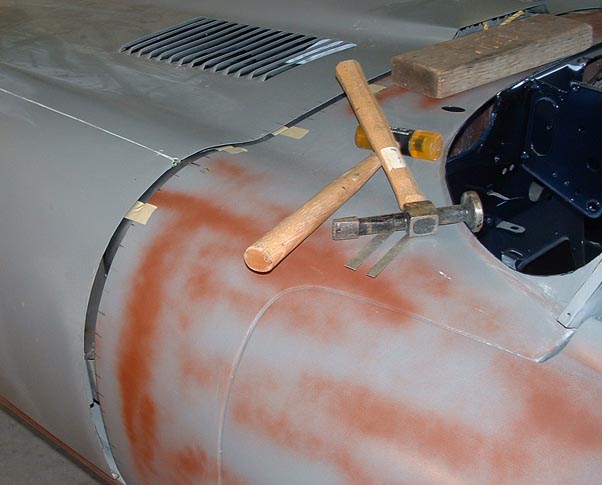
were much closer. Still not right but heading in the right direction. Before taking
this picture I still had some of the original center section shape mismatch where
the outside was higher than the center, but my dad came up with a quick way to
reshape the center section. Use a 2x4 brace it on the sub frame or fire wall lip
on one end, then put the other end on the rear bonnet support. Have one person
hold the bonnet in place and another person lay their body on the bonnet pushing
down on the 2x4. The stiffener will give slightly and allow you to slowly match
the shape of the bonnet to the cowl. Make sure you don't go to quickly with this
as its a real pain to bend it back the other way.
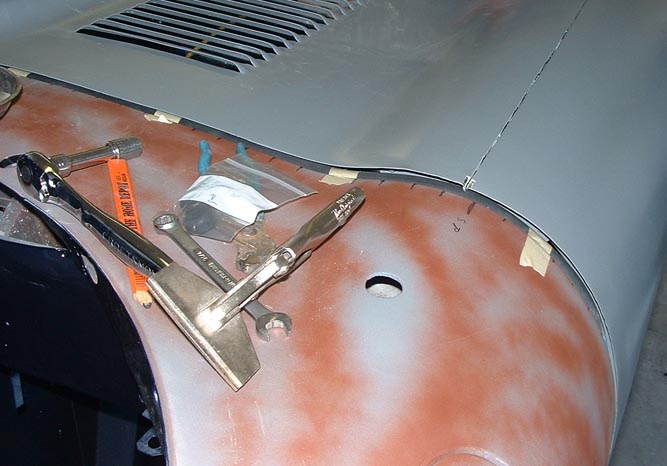
Here you can
see things are coming along, still need to do a bit of warping on the center
section stiffener to get the outer edge flush with the cowl. After things get
within 1/8" I use the sheet metal vice grips in the foreground to flex
the edge into line with the cowl.
After a bit
more banging and tweaking, I had to make a decision about the rear edge. Here
I have taken all the shims out and the wings the side have a near perfect gap,
but the center section is to close to the cowl. I could put shims back in and
weld metal to the wings, or cut the center section down to the right fit. I
opted to cut the center section as the rear edge wasn't straight anyway and
adding metal to the wings would have possibly warped the wings.
After another
afternoon of banging, cutting and filing, the bonnet is looking much better, I
have a 1/8" gap all the way around. I still have a little filing to do on
the center blister to get a straight edge on it but the rest of the gap is pretty
well locked in and its time to get the lower wings blended in to the body with
lead.
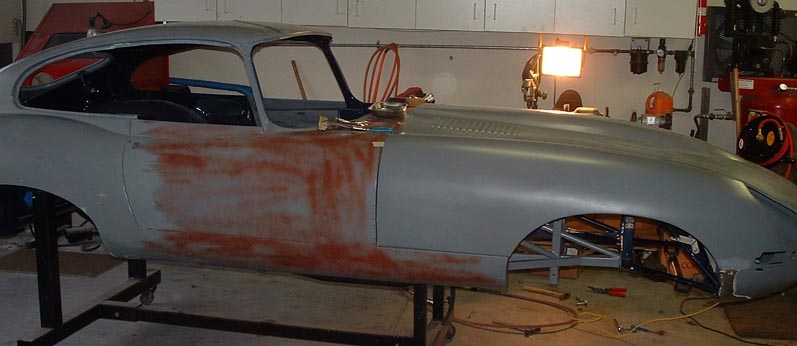
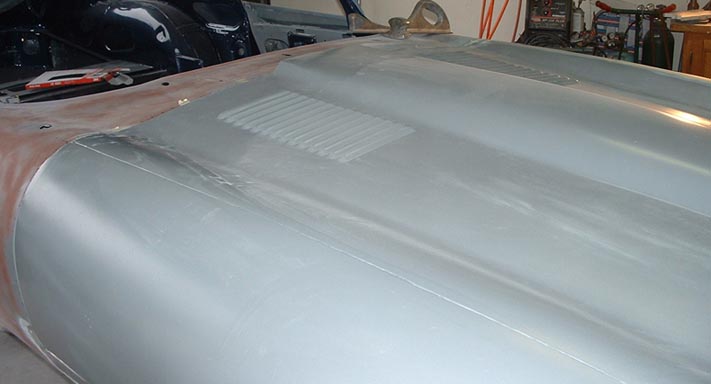
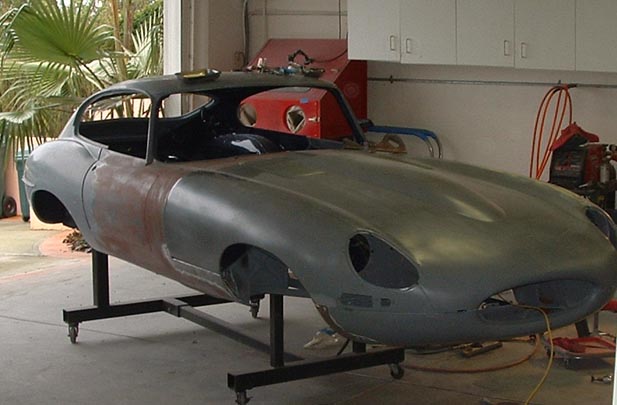
It is starting
to look like a car again now, I still have many hours of sanding and filling to
go but at least the bonnet is on and flush with a 1/8" gap all the way around.
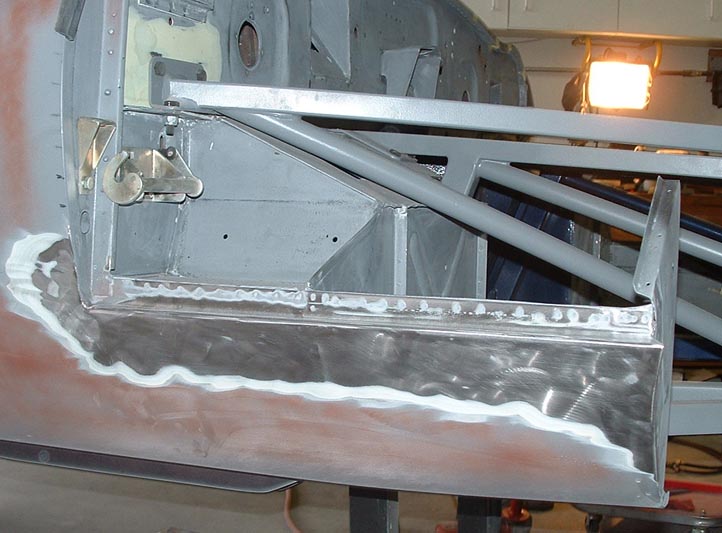
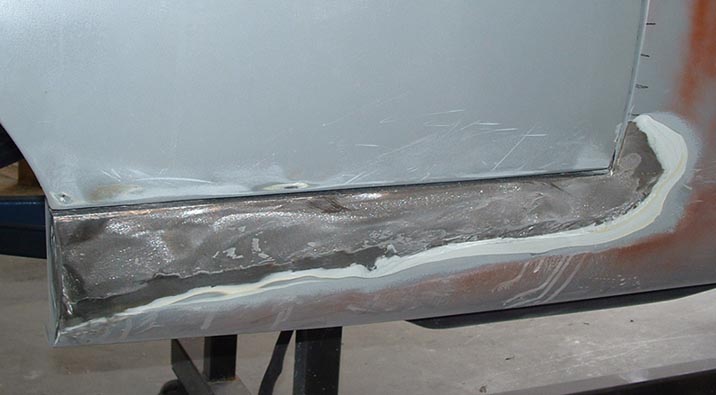
The first step
before leading in the sill to make it blend perfectly with the wing, is cleaning
off and tinning the metal. I had wasted effort filling and priming this area.
I didn't take
any pictures in progress of leading the sills, but it wasn't anything difficult
after the lead work on the door jams and rear deck.
Getting the fender
contour to match was quick work, Just lay in more lead in than required and file
it down to fit.
Here I have everything
filed and sanded down and ready for a quick skim of plastic filler.
Things are just
about there now, need to skim some plastic and then long board. After I get the
highs and lows roughed out, I'll take the bonnet off, disassemble it again, then
sand out the inside. Glue in the vents with sika-flex and shoot two coats of high
build primer, and put it back together. Then refit it to the car and pray things
are close. After that its more block sanding, trial fitting the chrome, and prep
to paint color.
There you have
it, a 63 XKE FHC looking sort of like a car, I'm almost two years into this
project and at least two years behind.